0 Comments
Telling the story of the twelve spies going to spy out the land of Canaan for Moses could be rather dull. So, when I ended up teaching it on a Wednesday night, I decided we would pretend to be the spies ourselves and spy the land out right there in the classroom.  The first thing we did was get our binoculars ready. If you're short on time, you can do like the girl in the picture, and just hold your hands around your eyes. I made a set for all my kids by stapling two toilet paper tubes together and then attaching a string to go around their neck. This also gave them something to do at the very beginning of class while I was reviewing what they'd talked about the week before, and setting up that night's adventure (lesson). They colored their set to look like they wanted while I talked. After your binoculars are ready, double-check with everyone that they have a map and know what God is wanting us to look for. I came up with a check-list simply by looking through the verses of Numbers 13:17-20. Here's my checklist of what we were supposed to be scouting out.
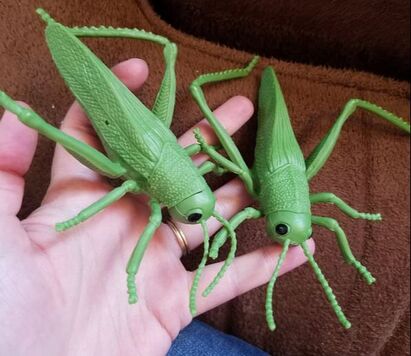
 Speaking of grapes. I made my big cluster by blowing up green and purple balloons and tying them into a large group. To carry them, we used an old wrapping paper tube that they could slide between the grapes and then have two kids to carry one end each. I know the grapes weren't that big in real life, but the clusters were so big that the Bible says it took two men to carry them back. So this at least gives a general idea. I had also brought some grapes for them to eat, too. 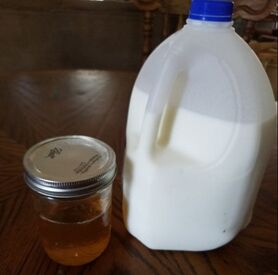 Canaan wasn't called the land of milk and honey for no reason. It truly was a land rich in all that the people of God would need. So, in a couple different places around the room, I had hidden some honey (with bread for them to eat it on) and a thermos of milk and some cups. This allowed them to taste the experience as well as see it. While they're seeing what a good land it is, also make sure you're pointing out the parts that scared ten of the twelve men. The giants and the strong cities need to come up several times as you walk around the room. When you're done exploring (it took them forty days, but it probably won't take you that long), return to your table and read from Numbers 13:25-33, telling your students that this is what the Bible says the spies reported when they got back. I like to even throw some grasshoppers on the table when I read verse 33. I got these beauties from Dollar Tree one time. After that, ask them what they would have wanted to do if they had been an Israelite. Would they have jumped at the chance to move to a land like that? Or would they have been scared?
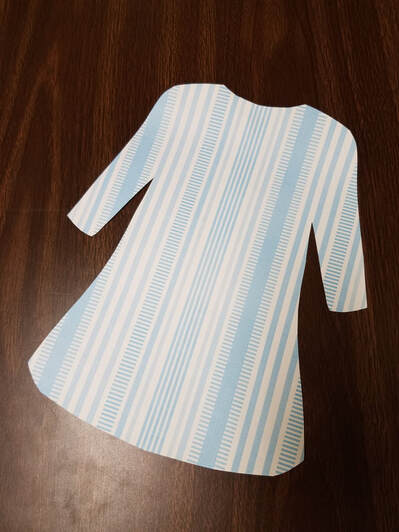
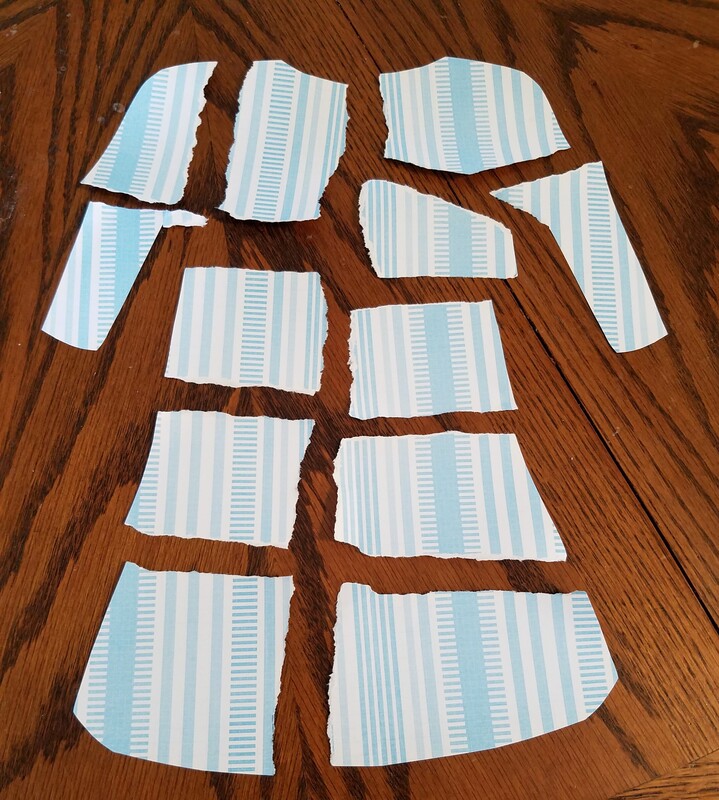
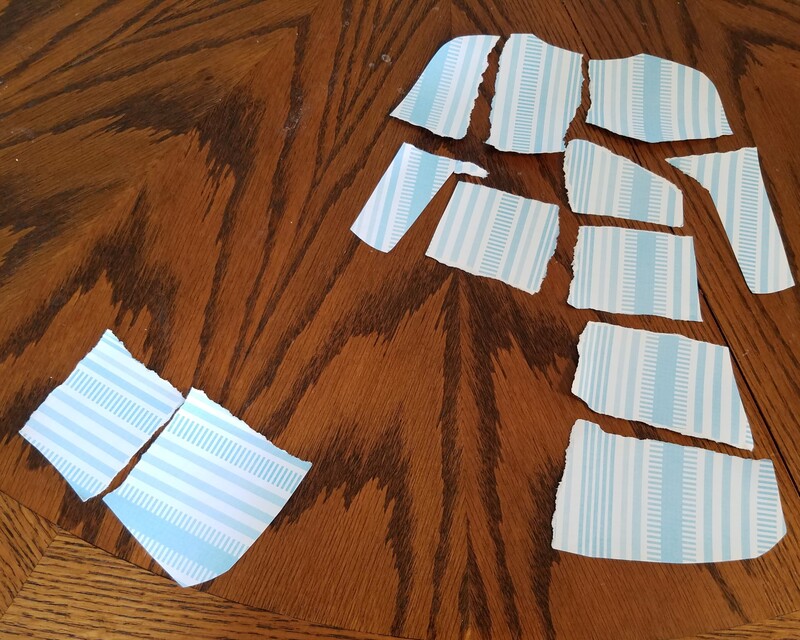
Then, tell them what really happened in Numbers 14. How the people decided not to go and God punished them by making them wander in the wilderness for 40 more years. You can do a craft or worksheet or memory verse to finish out whatever time you have left. This isn't the most elaborate class, but by taking them on a journey using their imaginations and senses, it brings the story more to life and makes it more memorable. Would you add anything? Any suggestions for how to make it even better? A few weeks ago, I taught the story of Jeroboam and Rehoboam in my Sunday school class. It's found in I Kings 11 and 12. Basically, because Solomon, despite his wisdom, let his various and sundry wives and girlfriends lead him away from worshiping only God, God decided that Rehoboam, Solomon's son, wouldn't get to be king over ALL the tribes of Israel. So, God gave 10 tribes to Jeroboam, one of Solomon's enemies, which became the nation of Israel. Judah and Benjamin stuck with Rehoboam and became the nation of Judah. We started class by labeling a map with approximately where all the different tribes lived in Canaan. Then, I got into the story. Here's my first visual aide. I basically took a piece of scrapbook paper, folded it in half, then cut out a garment shape. This is the new garment that I Kings 11:29 says the prophet Ahijah was wearing. When Ahijah met Jeroboam, he took off his garment and tore it into twelve pieces. While you're telling the story, tear your garment. Then, Ahijah told Jeroboam to take ten pieces for himself because God was going to give him ten tribes to be King over. After that, I talked about Rehoboam's bad decision to listen to his peers instead of the elders. When we get to the part where the Bible says ten tribes followed Jeroboam and only two stayed with Rehoboam, we draw a dashed "line" where the kingdom divided on the map we started class with.
For a take home paper, I let each child have this sheet, which is a garment listed with each of the twelve tribes. They can color it and cut it apart to be a puzzle so they can remember the lesson. I hope this has helped any of you needing to teach this hard lesson in your class. I'd love to hear if you have come up with any other ideas, too. I am a firm believer in getting the kids involved in a lesson. It's more memorable and more fun.
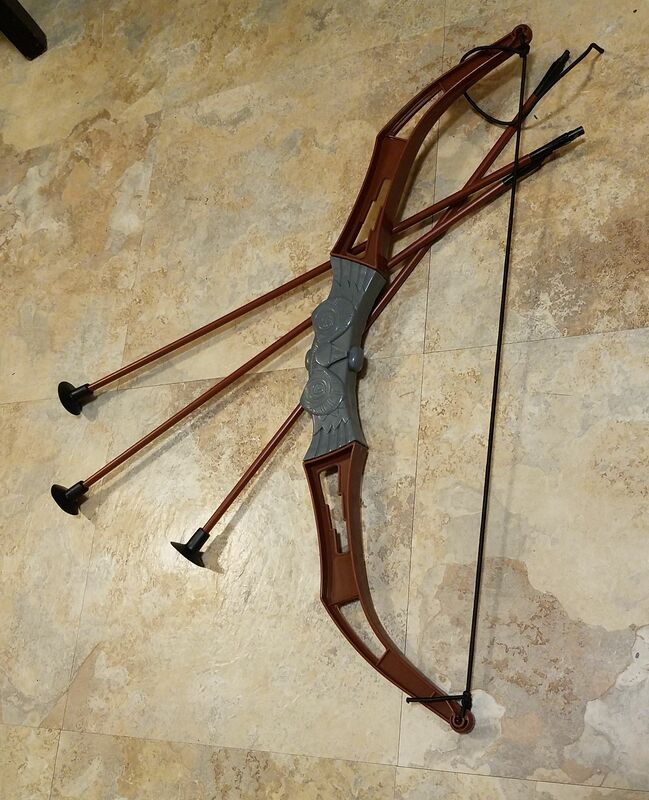
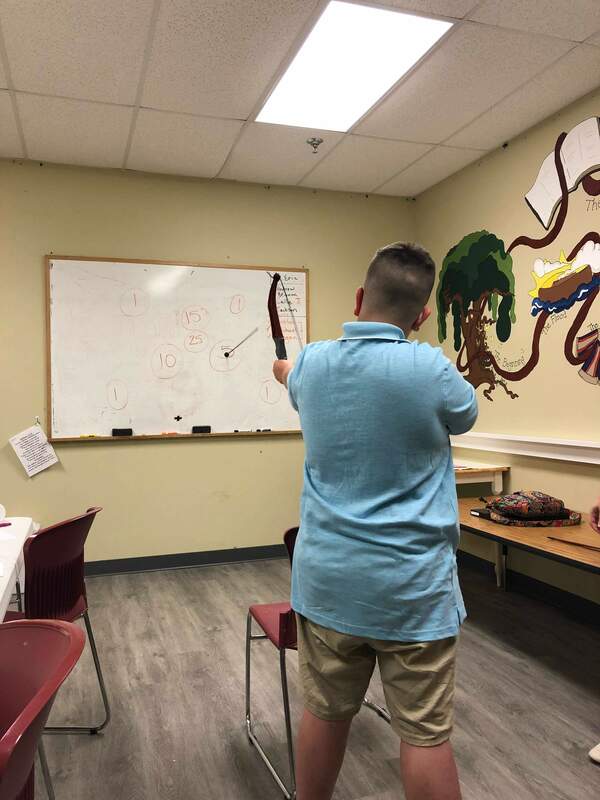
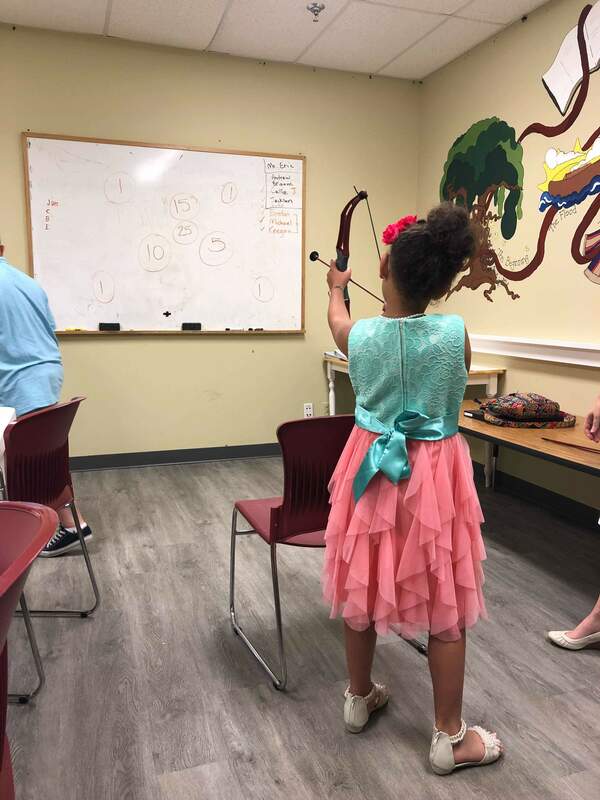
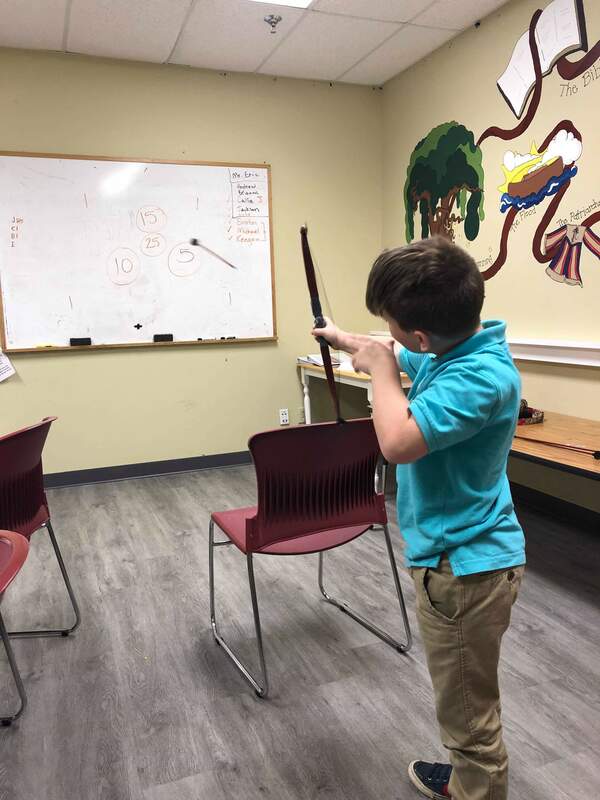
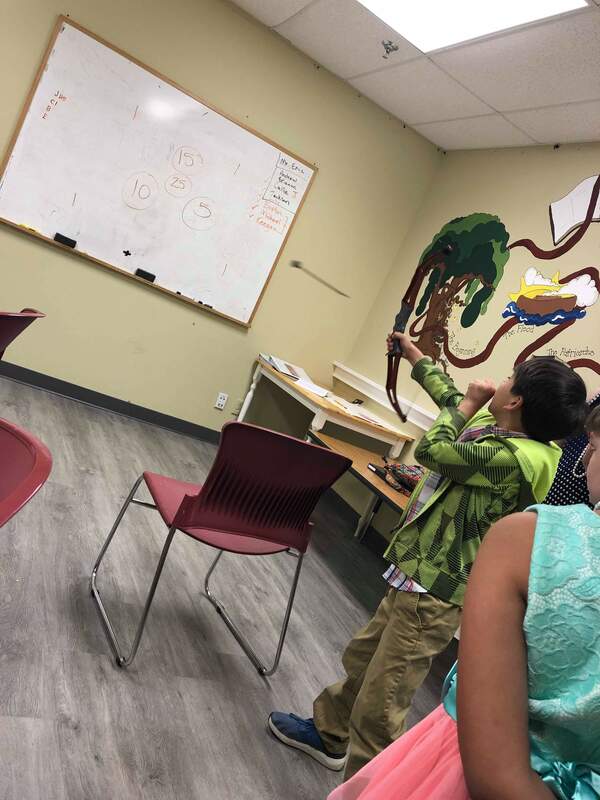
At the end of last summer, I found a bow and arrow set (the arrows have suction cups on the end) on clearance at our local Walgreens. I knew I'd be teaching the story of Jonathan warning David to flee from Saul again this spring, so I grabbed it. I don't actually use this to teach the lesson, though. Instead, I use it to review afterwards. I set up the classroom to where the kids can stand a certain distance from the marker board. On the marker board, I will have various points with a circle around them -- you choose how high or low you want to go. Each student will get a turn to step up to the line. If he or she can answer whatever question I give them correctly, he or she gets a turn to shoot the bow and arrow at the board to try and get the arrow to hit one of the points. Our lesson covers not only how Jonathan loved David so much that he gave him his tunic, sword, and ring, but also how he was almost killed by his father because he tried to talk him out of killing David, and how he shoots the arrows to warn David to flee. This gives quite a bit of story to choose from when coming up with questions. I also go farther back to lessons we've done in previous weeks if I need more. It's a win-win. The kids get to be up and moving around a bit, shoot a bow and arrow, and are still soaking up the lesson. Do you ever come up with fun ways to review that incorporate something from your Bible story into the game? I'd love to hear about it! "Look toward the heaven, and number the stars, if you are able to number them." Then he said to him, "So shall your offspring be." And he (Abraham) believed the Lord, and he counted it to him as righteousness. --Genesis 15:5-6 I love the story of Abraham. I guess I compare a lot of the things in his life to mine. Obviously, my family never had to wander around in a tent until God told us to stop (not really, anyway), but we did have to pick up our things and move quite a few times. And then, I can empathize with Sarah and him as they waited and waited and waited for that baby. I'm so grateful God didn't make me wait until I was in my 90s before blessing us with a child. Whew!
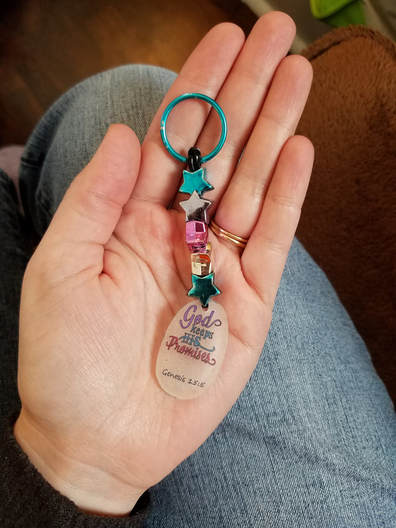
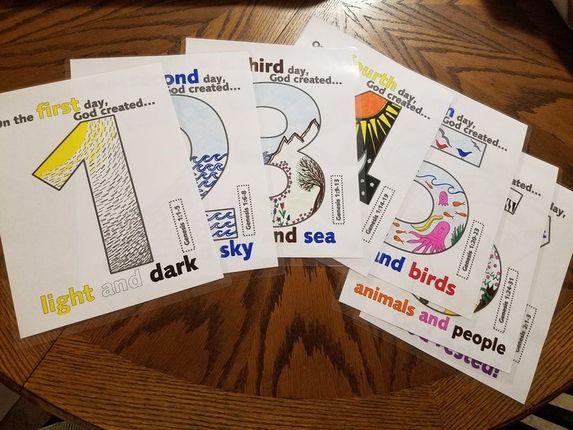
As this lesson came up in my curriculum this time, I remembered a few years ago when I taught this. I got the brilliant idea to make key chains or bracelets or zipper pulls with a piece that would remind us that even if it took more than 20 years, God would keep the promises He had made us. Here's how we did it. I have a neat little Shrinky Dink machine like this one. I caught it on sale at a craft store one time and picked it up just for my Bible class. If you don't want to spring for a fancy machine, a toaster oven works just as well. Just buy the special paper and follow the directions. Shrinky Dinks are so fun because you do whatever design you want on the special paper and then watch it magically shrink into the harder plastic piece that works for a bead. I printed out several memes that I had found online that said "God keeps His promises" and printed them out for the students to use for tracing purposes. They picked whichever one they wanted and colored as desired. We then trimmed the piece and punched the hole -- **if you don't do this before you shrink it, you can't do it afterward and it won't work as a bead**. My co-teacher manned the shrinking machine and I helped the kids string their beads together and tie the knots to finish up. We used star beads to remind us of what God told Abraham -- that his family would be as many as the stars. This craft always goes over well with the kids, and while it takes a lot of time, it's something different that should last for quite a time to come. Have you ever done something like this in class before? Creation is a fun lesson, and can be taught many ways. I usually incorporate the song, "Day one, day one ..." It's catchy and helps us all remember what happened on which day. I also use my visual aids pictured above. I snagged them here, if you want a copy of your own. There are several others on Pinterest, as well, if you don't love these.
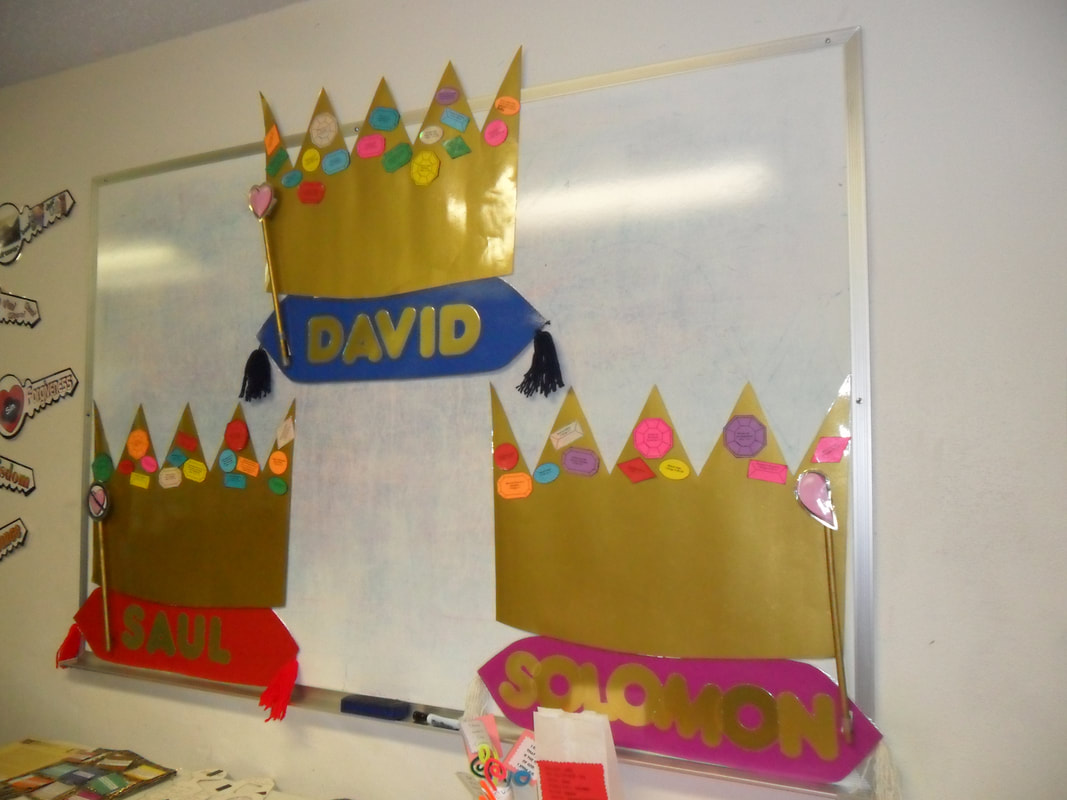
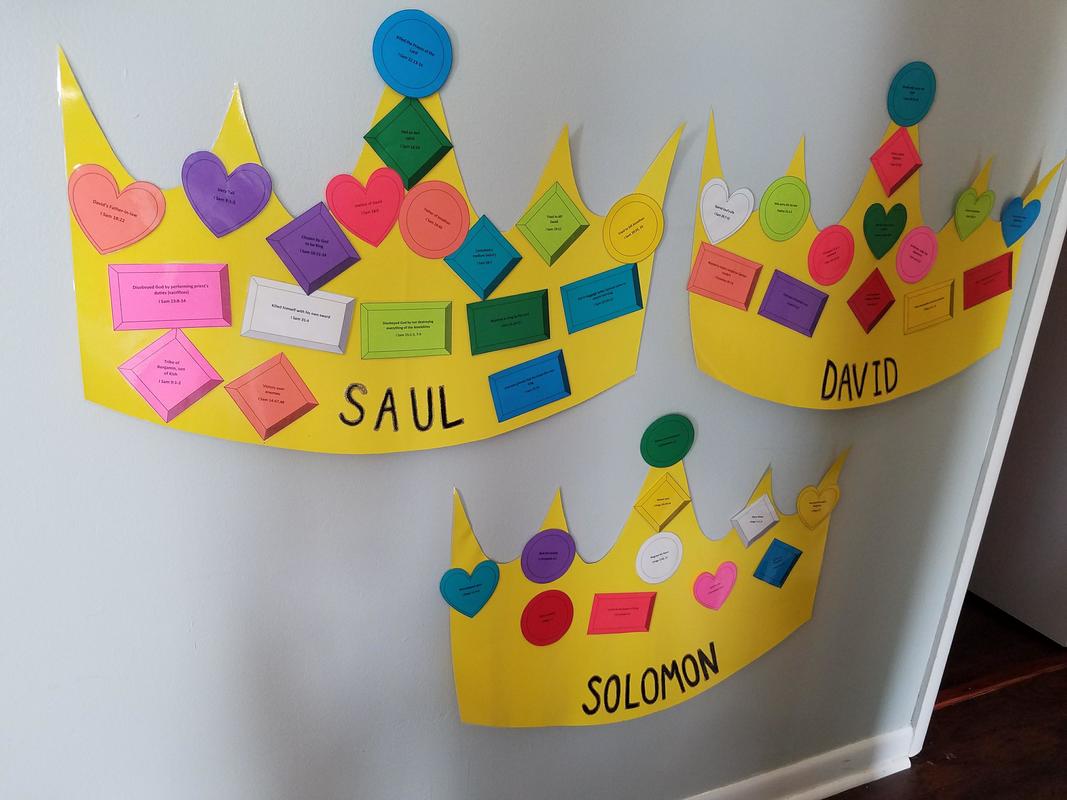
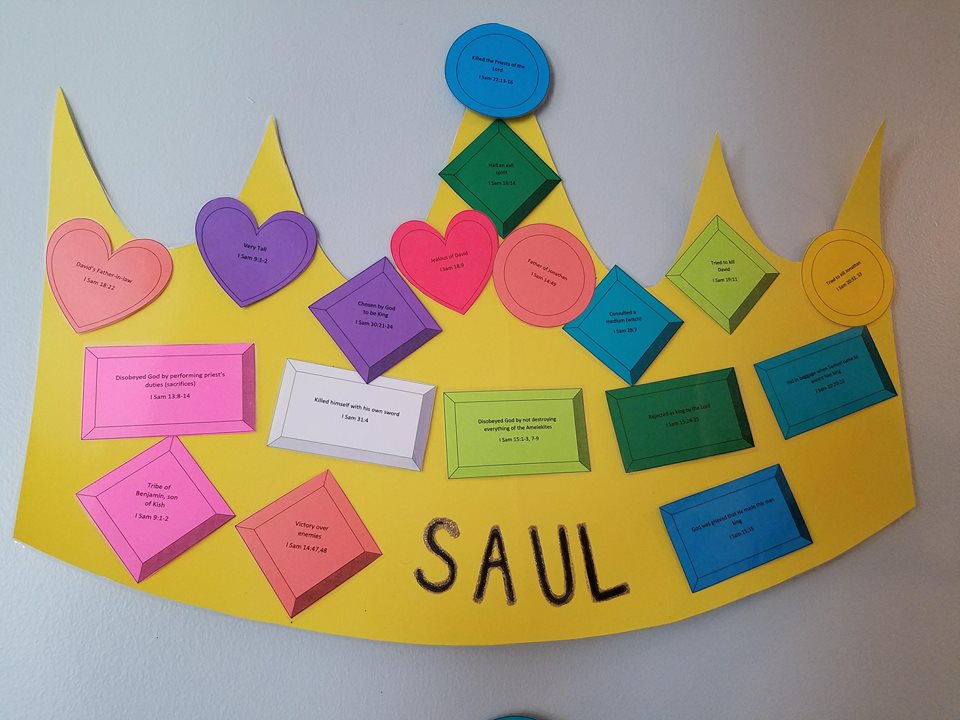
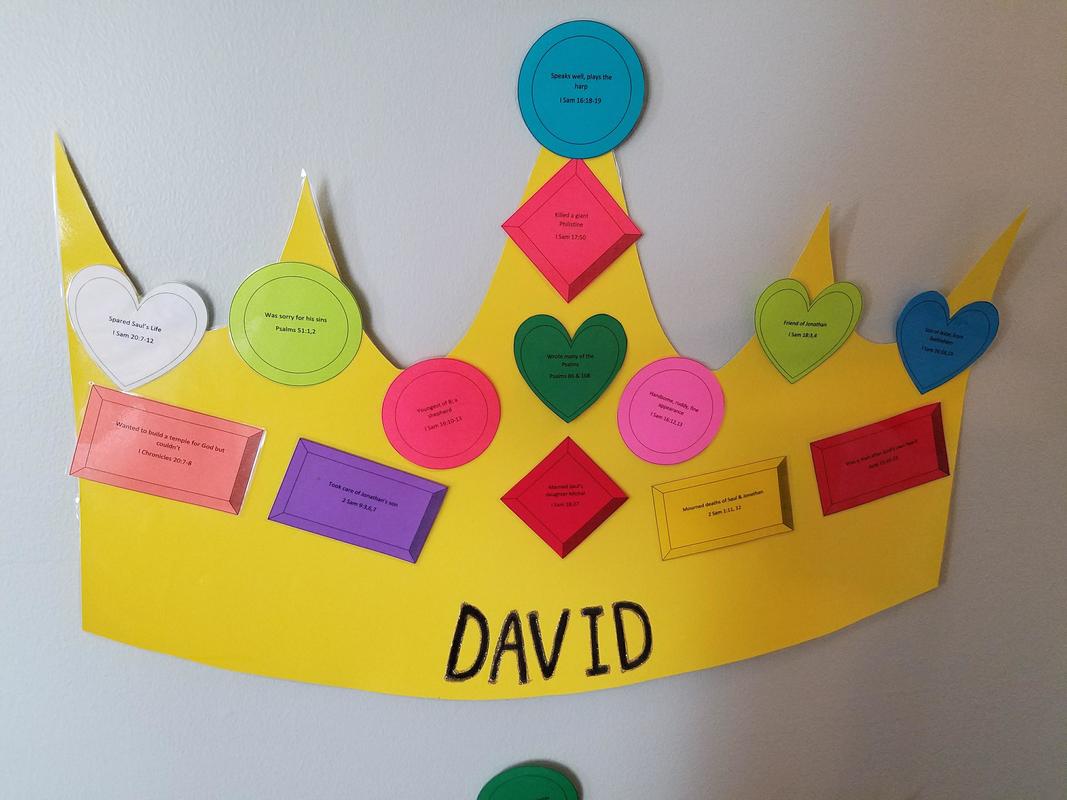
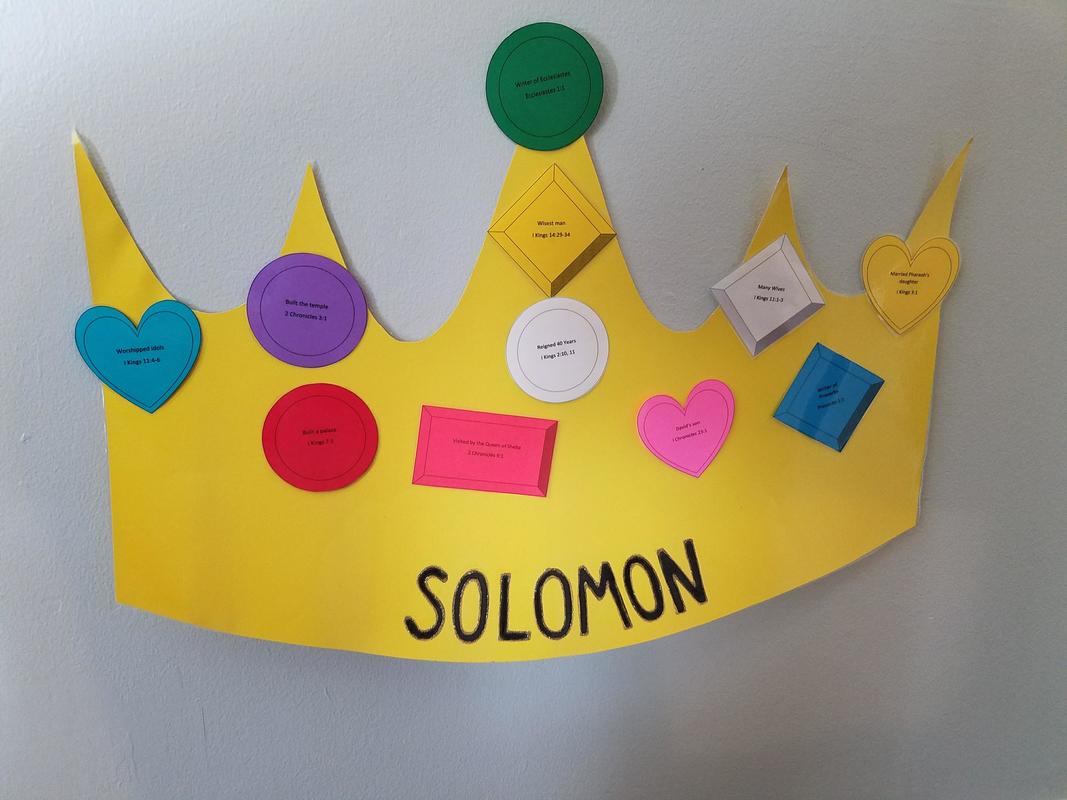
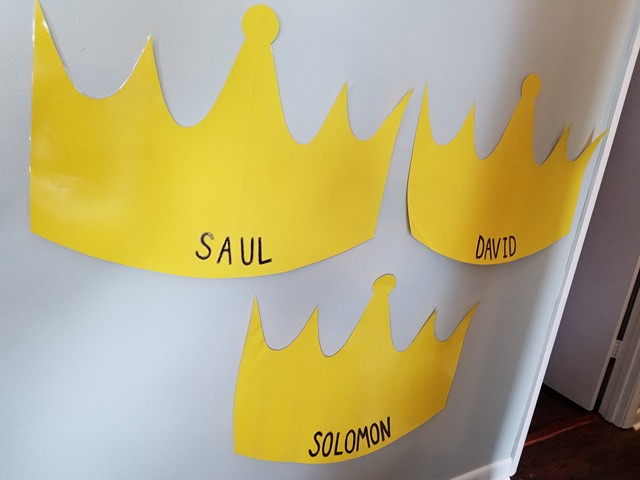
Then, to keep the students' attention, and get them involved, I hand out this sheet. It's a handout that has miniature versions of the numbers, but blank. This lets the kids color in what happened on each day, a task that also helps drive home the lesson. I love when I can get the kids drawing the story along with me. And they seem to like it, too. I'd love to hear from you. What all do you do when you teach this amazing lesson? We've started going through the first kings of Israel in my Bible class. As I was preparing my lessons several weeks ago, I remembered seeing an idea from a teachers' workshop I attended years ago. I even found a picture of the idea, although I have no notes to be found as to who came up with the original or when. But see what a neat review game this is? I decided I wanted to make my own version, so I started creating my own jewels, cut out crowns from yellow posterboard, and simplified a bit. Not too bad, considering I couldn't read all of her original facts on her crowns from the sad quality of the pictures I took with my little digital camera all those years ago. I think they turned out okay, don't you? The main point is that I can have them in my Bible class and let the students decide which crown each jewel belongs on. Here's the good news. I'm sharing this hard work with you. That's right. I am going to include the word document I used to make my jewels here so you can just print them on whatever colors you want and cut out your own crowns to make this game for your own classroom use. Yay! I also included a page of blank jewels in case you wanted to include any facts I didn't have on here. If you aren't sure which king each jewel belongs to, you can just look up the scripture listed under the fact. ;-) Click here to download the jewels. And here's a picture of what my crowns look like without the jewels on them. I just used sticky tack to put it all together. I hope this helps you in some way. I'd love to hear your stories of how you use this!
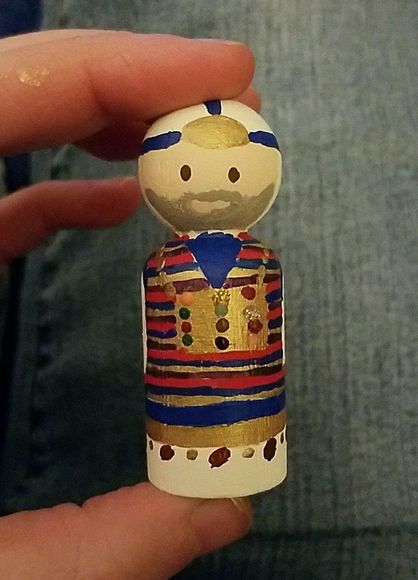
Remember in November when I posted my cute Bible Peg People? No? Well, you can re-read that post here. Anyway, when I first decided what all I was going to paint for those, I thought I had come up with enough different figures that I could tell just about any Bible story. Then, I started teaching Bible class again this month. And I was teaching the story of Hannah. Name the people involved: Hannah, Samuel, Elkanah, Peninnah, and ... Eli the Priest. Had I painted a priest? Um, that would be a big fat no. So, I got out my paints and some blank peg dolls and set to work. High priests had to wear very particular outfits, so I wanted to get as close as I could. It's hard to see in the picture, but there really are 12 stones on the chest plate. I think I did okay. What do you think? Just ignore the messy paint splotches on my fingers. I was so excited when I got finished that I sent my sister a picture right away before cleaning up. My Bible class kids were impressed, too, and they loved having the little figures to retell the story with when we had a few extra minutes at the end of class. Mission accomplished.
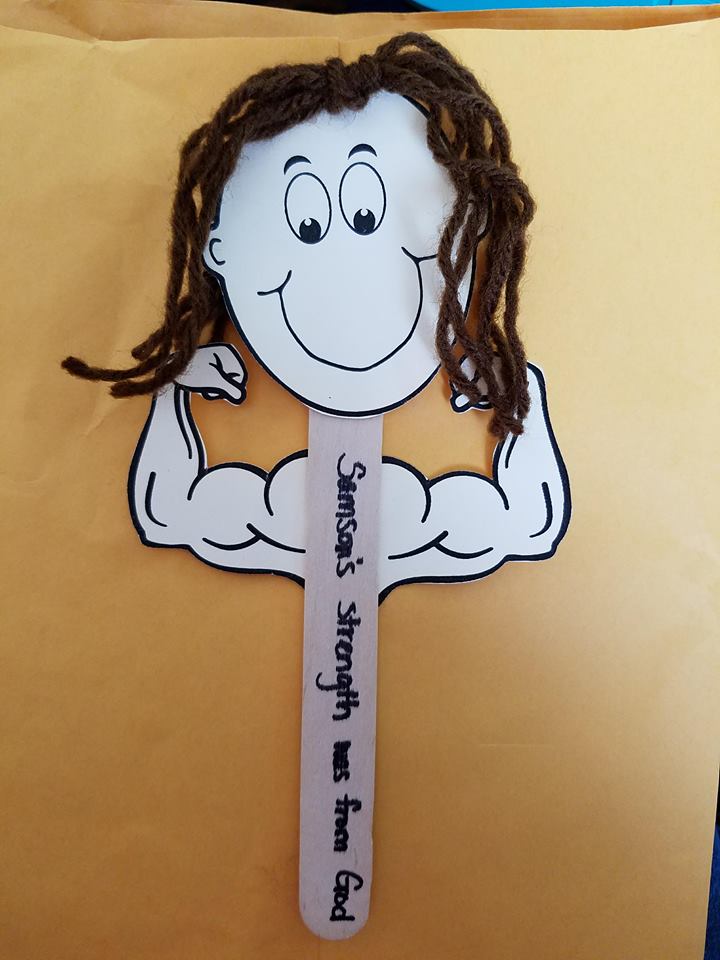
I absolutely love the ideas I find on handsonbibleteacher.com. She always has fun games and songs and crafts. When I was looking for an extra craft for my second graders to do a few weeks ago when we were talking about Samson, I discovered her cute little puppet. Unfortunately, try as I might, I couldn't find a template to make it exactly the same anywhere. So, I got a little creative, and made my own template. I thought there might be others out there looking for the same resource, so I'm sharing it here for anyone who wants to use it. It's fairly plain, but the kids really enjoyed it and they turned out cute. I made it where you can get two puppets from one sheet of cardstock. We just attached the head and arms to craft sticks, gave him some hair, and wrote "Samson got his strength from God." Hope this helps someone else teaching the story of Samson!
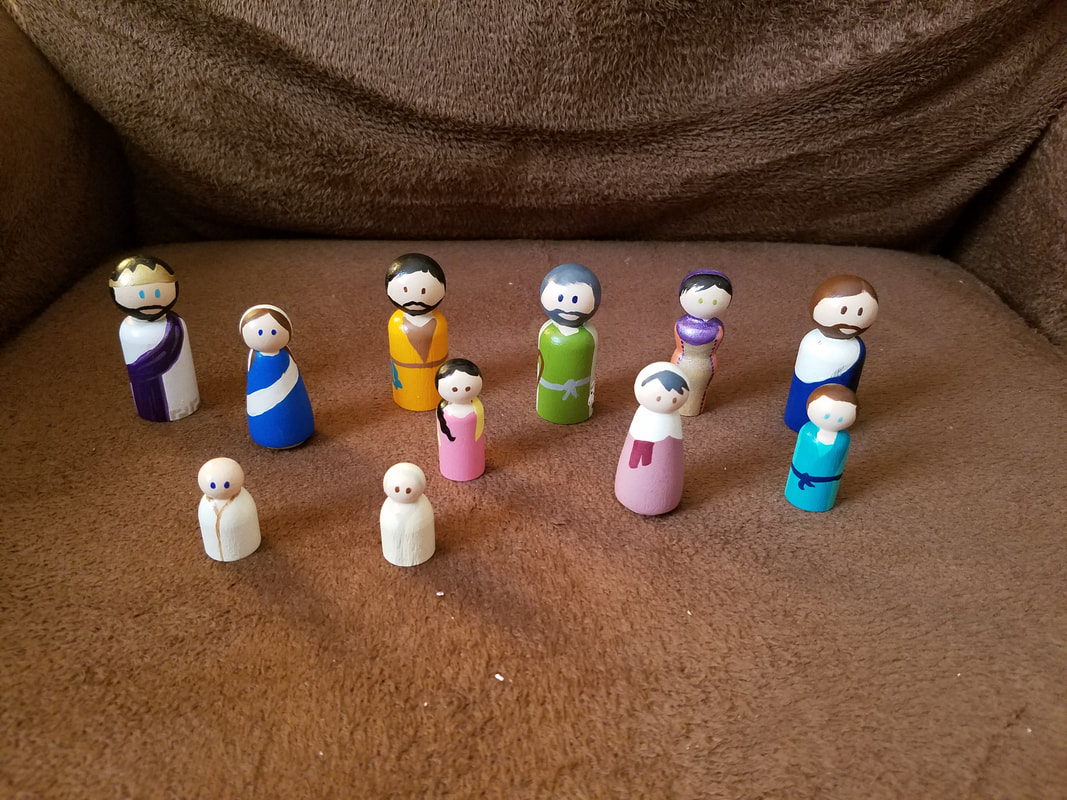
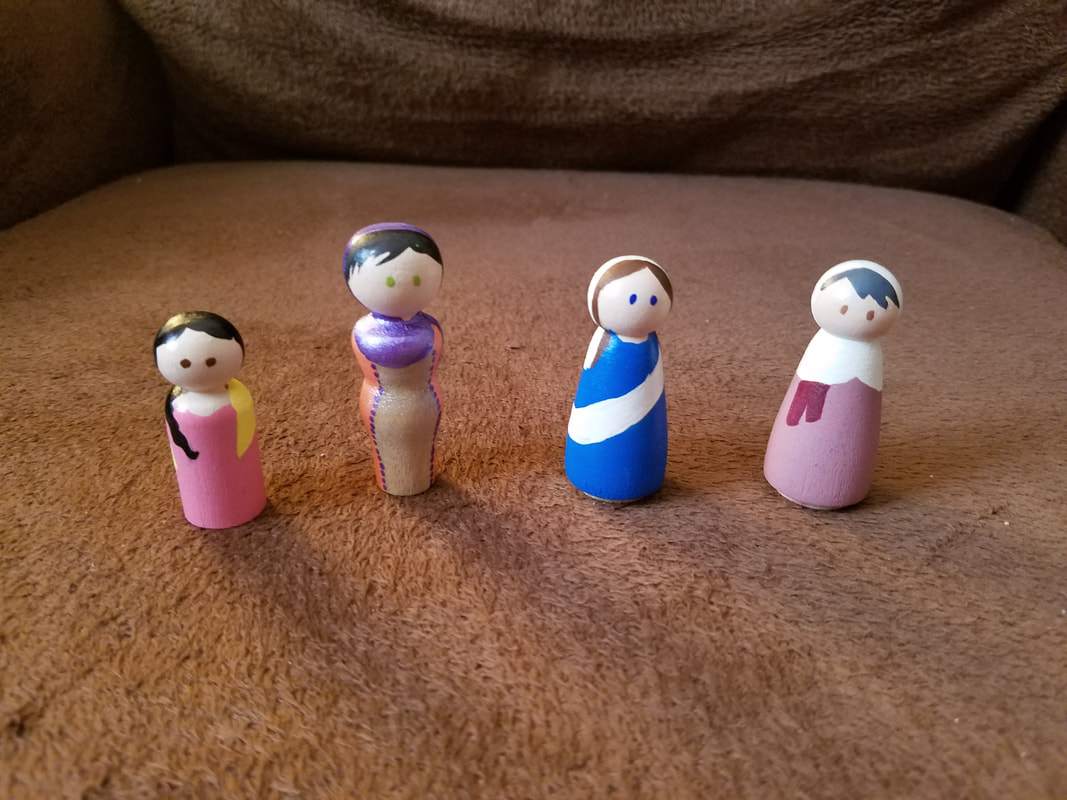
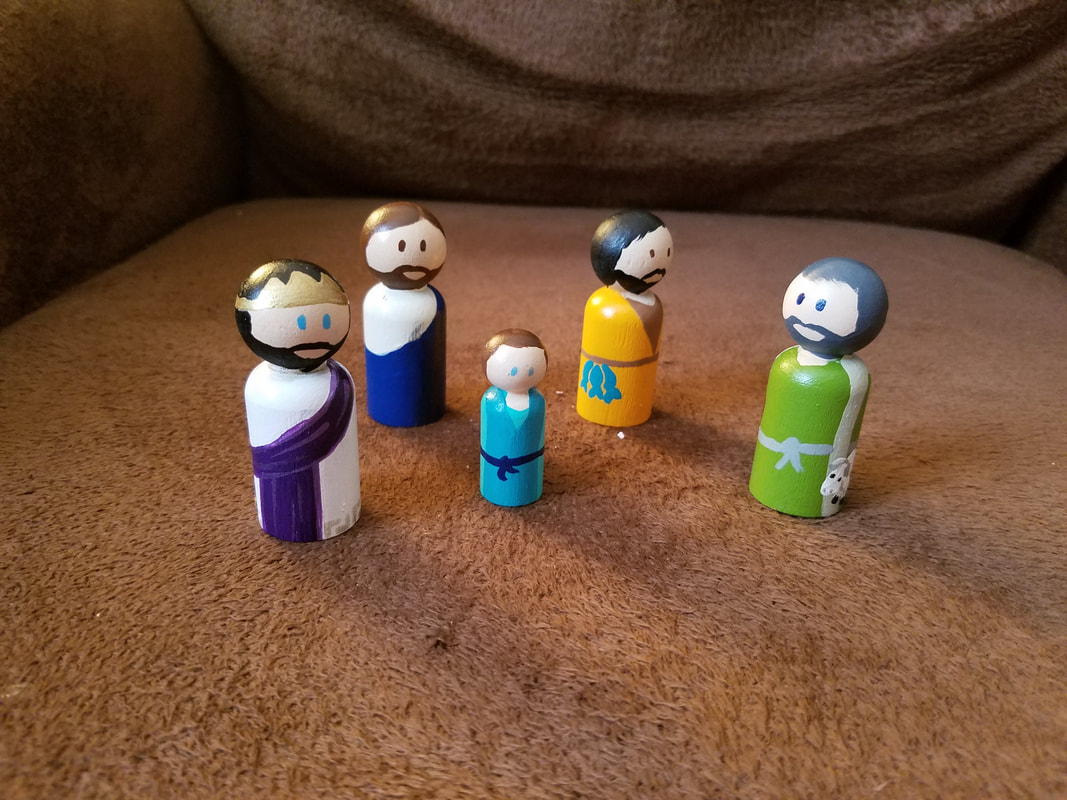
My sister gave me a request for her birthday this year. I had made some princess peg people for my niece's birthday several years ago. And I plan to make some community worker peg people for my nephew for Christmas. She wondered if I could do Bible peg people. She and her husband always do a little Bible story with the kids before bed each evening and she thought these might be a fun addition. I ended up doing four sets because I know a couple other people who will want some for upcoming birthdays, and, of course, I wanted one for myself, too. If you look on pinterest and etsy, you will find mostly nativity sets. And I am definitely not paying $95 for some. Obviously, I chose the wrong job! Ha! I wanted something more generic that we could use for multiple Bible stories. Here's what I came up with. I did two babies. They're pretty generic. I did three women, one older, one younger, and one more queenly that I thought would work for stories like Esther or Rahab. I also did a child/teenage girl. In addition, I came up with four men. One fisherman, one shepherd, one plain guy, and a king. Then, I did a child/teenage boy. What do you think? Would you add any? Could you use something like this to teach your family and/or Bible class kids?
|
I am one of those Bible class teachers who can't stand to just present the lesson and then hand out a worksheet. I want whatever I do in class to stick with the kids, reinforce the lesson, and really make them understand that this isn't just a story ... it's something that really happened. I want to include some of the ideas I've come up with here so that I can hopefully help some of you who want the same thing. I'd love to hear your ideas, too!
Archives
May 2024
Categories
All
|
||||||||
 RSS Feed
