0 Comments
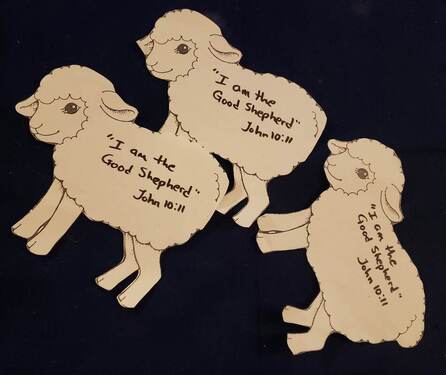 A few weeks ago, we were talking about Jesus as the Good Shepherd and also discussed the Parable of the Lost Sheep. You might think those are two very different stories, but they do go hand-in-hand. First off, I started by bringing a sheep to class. Before you start calling me Mary, no. It was only a stuffed animal I found in a closet in the church building. But it worked to help me make my points. Then, I discussed various aspects of sheep.
Basically, since I started teaching Bible class, I have stayed pretty close to the second grade class. It's what I call my "heart" age. I love that they're still young enough to have imagination and have fun, but old enough to be able to write words and cut a mostly straight line. And in all the places I've lived, second graders learn the Old Testament. In some places, I've covered everything from Genesis to Esther/Ezra/Nehemiah. In others, I only make it through part. But either way, I haven't had a whole lot of experience with teaching Jesus.
So, when the congregation where we are now decided to change curriculums this year, I expected it would simply be a slightly different layout of the Old Testament. Well ... I was wrong. And this quarter, I'm teaching Jesus. Needless to say, I had to come up with some visual aides and some craft ideas quickly. Not to mention some other ideas. Telling the story of the twelve spies going to spy out the land of Canaan for Moses could be rather dull. So, when I ended up teaching it on a Wednesday night, I decided we would pretend to be the spies ourselves and spy the land out right there in the classroom.  The first thing we did was get our binoculars ready. If you're short on time, you can do like the girl in the picture, and just hold your hands around your eyes. I made a set for all my kids by stapling two toilet paper tubes together and then attaching a string to go around their neck. This also gave them something to do at the very beginning of class while I was reviewing what they'd talked about the week before, and setting up that night's adventure (lesson). They colored their set to look like they wanted while I talked. After your binoculars are ready, double-check with everyone that they have a map and know what God is wanting us to look for. I came up with a check-list simply by looking through the verses of Numbers 13:17-20. Here's my checklist of what we were supposed to be scouting out.
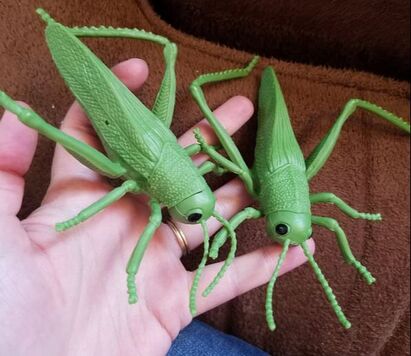
 Speaking of grapes. I made my big cluster by blowing up green and purple balloons and tying them into a large group. To carry them, we used an old wrapping paper tube that they could slide between the grapes and then have two kids to carry one end each. I know the grapes weren't that big in real life, but the clusters were so big that the Bible says it took two men to carry them back. So this at least gives a general idea. I had also brought some grapes for them to eat, too. 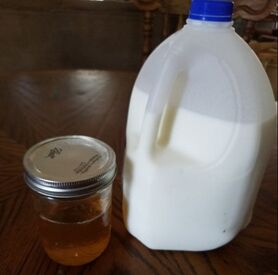 Canaan wasn't called the land of milk and honey for no reason. It truly was a land rich in all that the people of God would need. So, in a couple different places around the room, I had hidden some honey (with bread for them to eat it on) and a thermos of milk and some cups. This allowed them to taste the experience as well as see it. While they're seeing what a good land it is, also make sure you're pointing out the parts that scared ten of the twelve men. The giants and the strong cities need to come up several times as you walk around the room. When you're done exploring (it took them forty days, but it probably won't take you that long), return to your table and read from Numbers 13:25-33, telling your students that this is what the Bible says the spies reported when they got back. I like to even throw some grasshoppers on the table when I read verse 33. I got these beauties from Dollar Tree one time. After that, ask them what they would have wanted to do if they had been an Israelite. Would they have jumped at the chance to move to a land like that? Or would they have been scared?
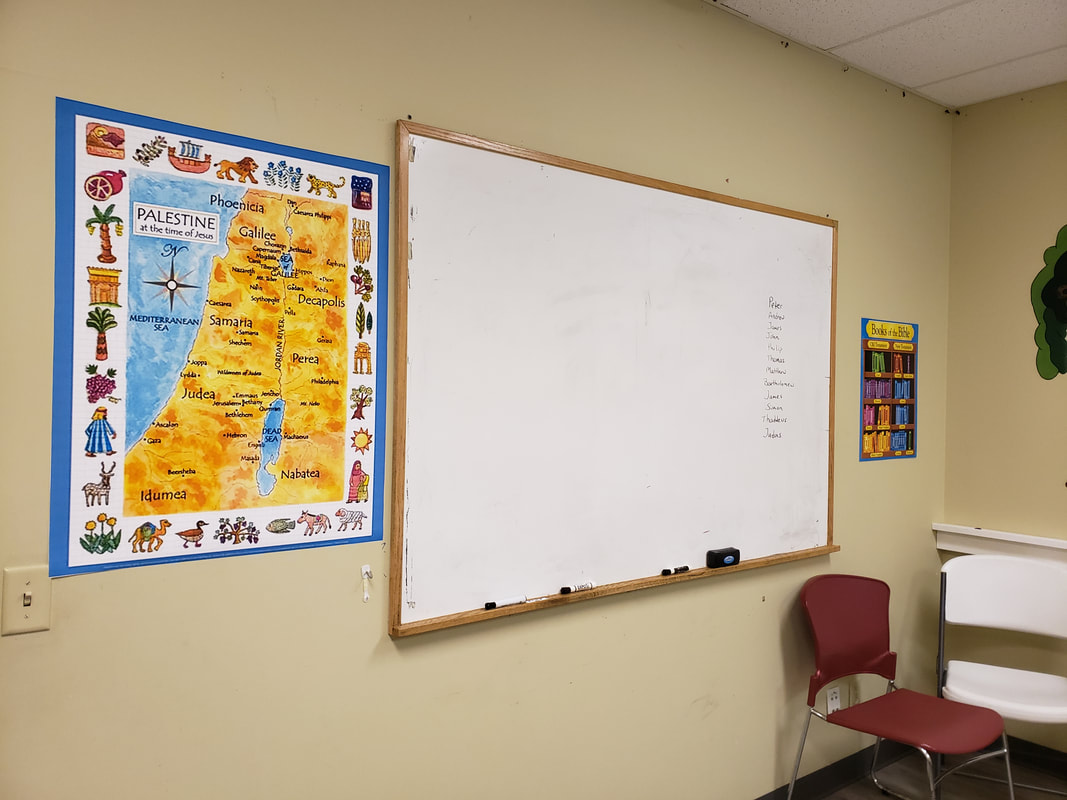
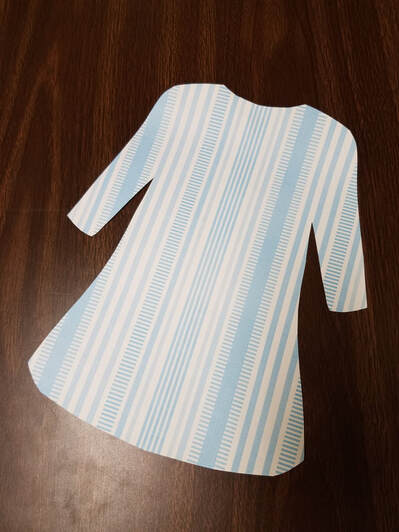
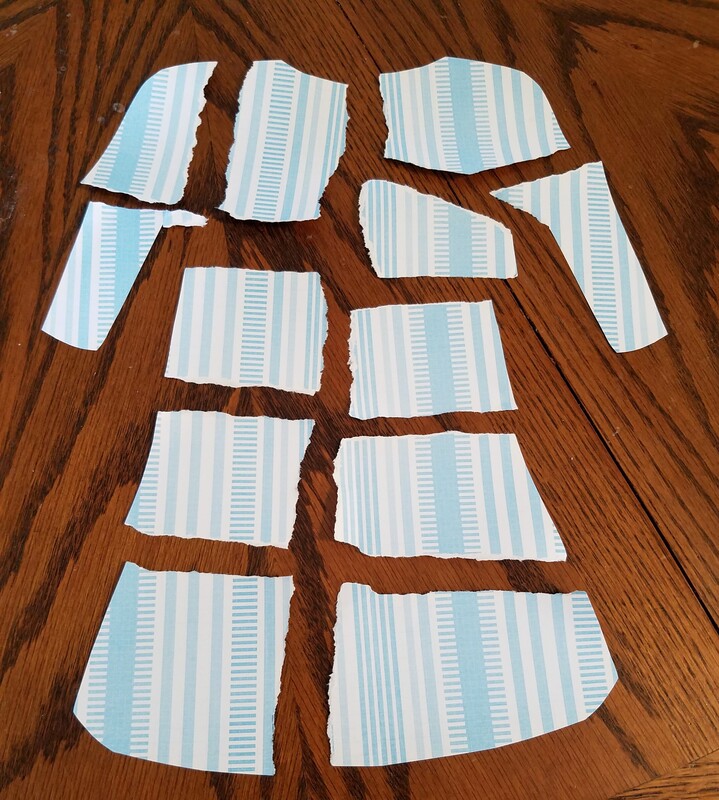
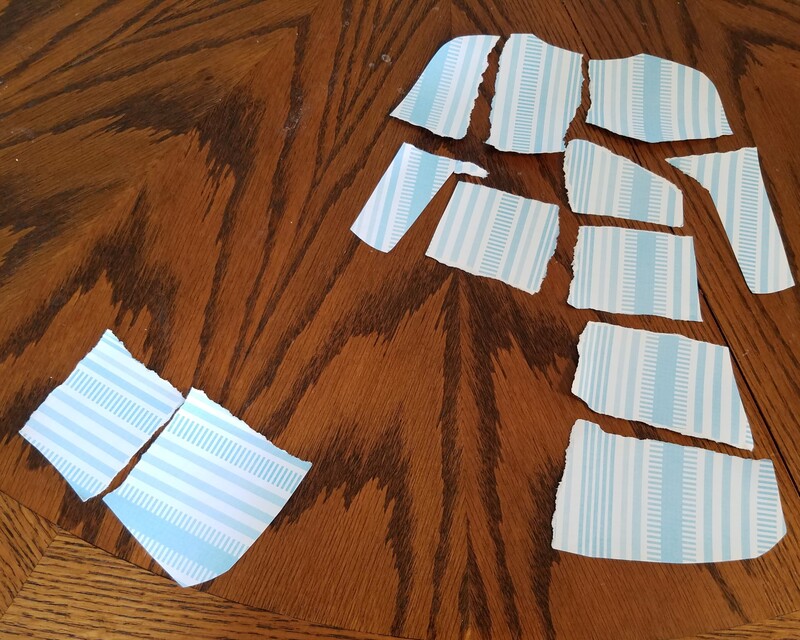
Then, tell them what really happened in Numbers 14. How the people decided not to go and God punished them by making them wander in the wilderness for 40 more years. You can do a craft or worksheet or memory verse to finish out whatever time you have left. This isn't the most elaborate class, but by taking them on a journey using their imaginations and senses, it brings the story more to life and makes it more memorable. Would you add anything? Any suggestions for how to make it even better? A few weeks ago, I taught the story of Jeroboam and Rehoboam in my Sunday school class. It's found in I Kings 11 and 12. Basically, because Solomon, despite his wisdom, let his various and sundry wives and girlfriends lead him away from worshiping only God, God decided that Rehoboam, Solomon's son, wouldn't get to be king over ALL the tribes of Israel. So, God gave 10 tribes to Jeroboam, one of Solomon's enemies, which became the nation of Israel. Judah and Benjamin stuck with Rehoboam and became the nation of Judah. We started class by labeling a map with approximately where all the different tribes lived in Canaan. Then, I got into the story. Here's my first visual aide. I basically took a piece of scrapbook paper, folded it in half, then cut out a garment shape. This is the new garment that I Kings 11:29 says the prophet Ahijah was wearing. When Ahijah met Jeroboam, he took off his garment and tore it into twelve pieces. While you're telling the story, tear your garment. Then, Ahijah told Jeroboam to take ten pieces for himself because God was going to give him ten tribes to be King over. After that, I talked about Rehoboam's bad decision to listen to his peers instead of the elders. When we get to the part where the Bible says ten tribes followed Jeroboam and only two stayed with Rehoboam, we draw a dashed "line" where the kingdom divided on the map we started class with.
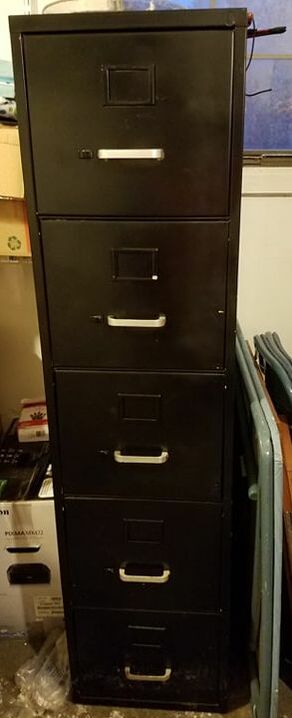
For a take home paper, I let each child have this sheet, which is a garment listed with each of the twelve tribes. They can color it and cut it apart to be a puzzle so they can remember the lesson. I hope this has helped any of you needing to teach this hard lesson in your class. I'd love to hear if you have come up with any other ideas, too. Right now, my Bible class stuff is organized ... sort of. I have a two-drawer filing cabinet packed to the brim with various folders for stories I've taught or ideas I've collected through the years. I also have a large plastic tub full of more ideas and craft examples. And another smaller tub of more craft supplies. And a poster box of various visual aides. And another box or two of more things I brought home from my mother-in-law a few years ago. See my problem? I have to dig through more than one place to find what I'm looking for most of the time. So, when I found this beauty on the marketplace a month or so ago, I pounced on it. (Please ignore the mess surrounding it. The garage is on the to-do list for this summer.) Five empty drawers, just waiting for me to sort various crafts and ideas and papers into them so that I can have a better chance of finding something. I'm completely thrilled with the potential.
So, I'm curious. How do you organize your Bible class materials? Do you have a system, or are you more of a "dump everything into a bin and find it later ... or not" kind of person? I'm always looking for great suggestions! I am a firm believer in getting the kids involved in a lesson. It's more memorable and more fun.
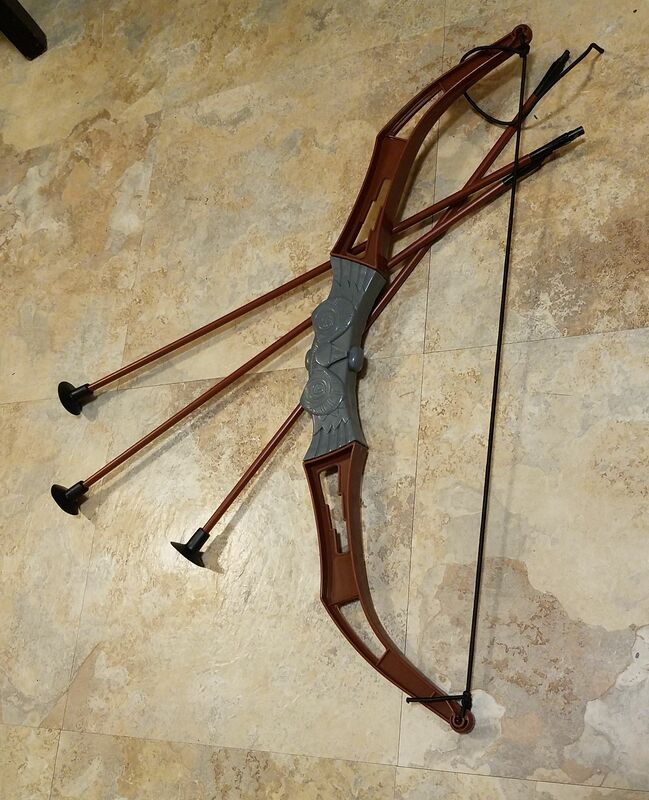
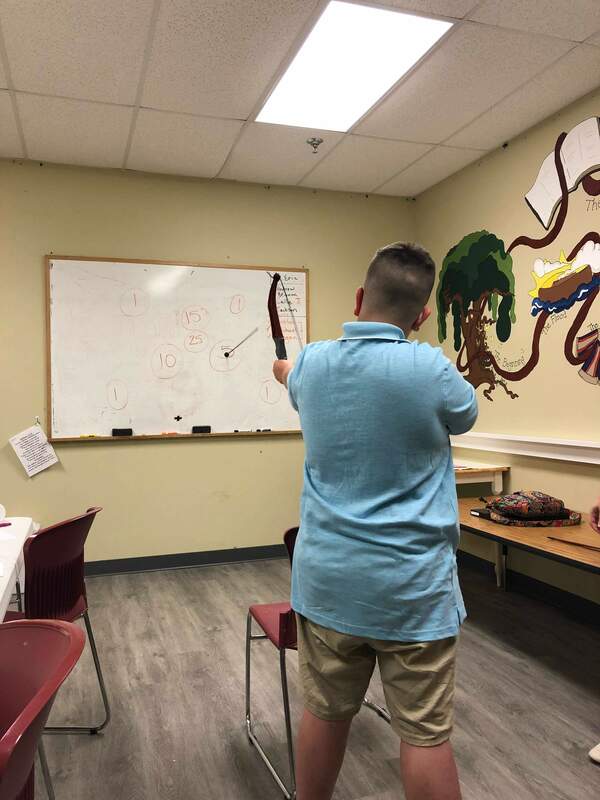
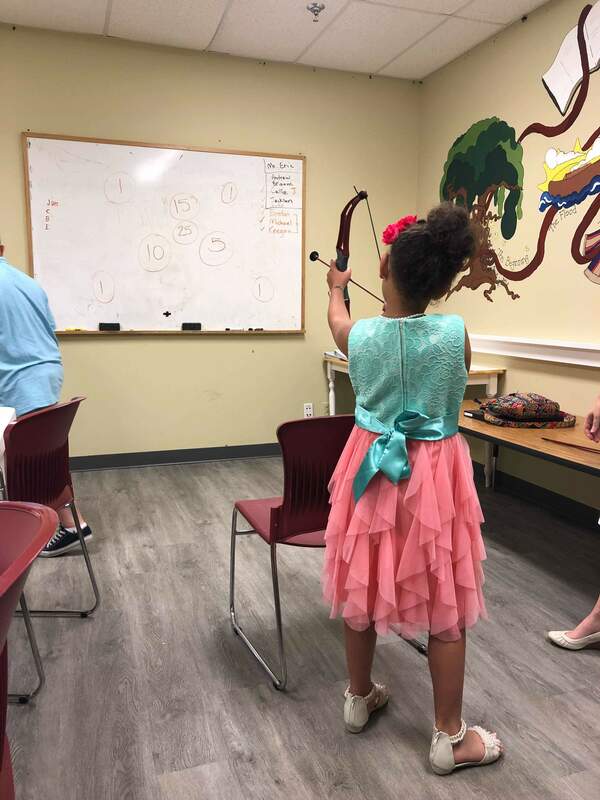
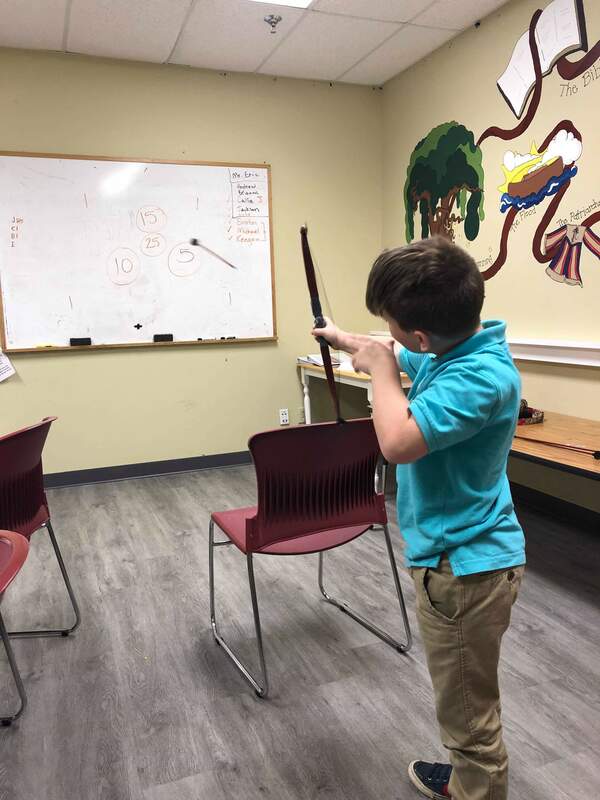
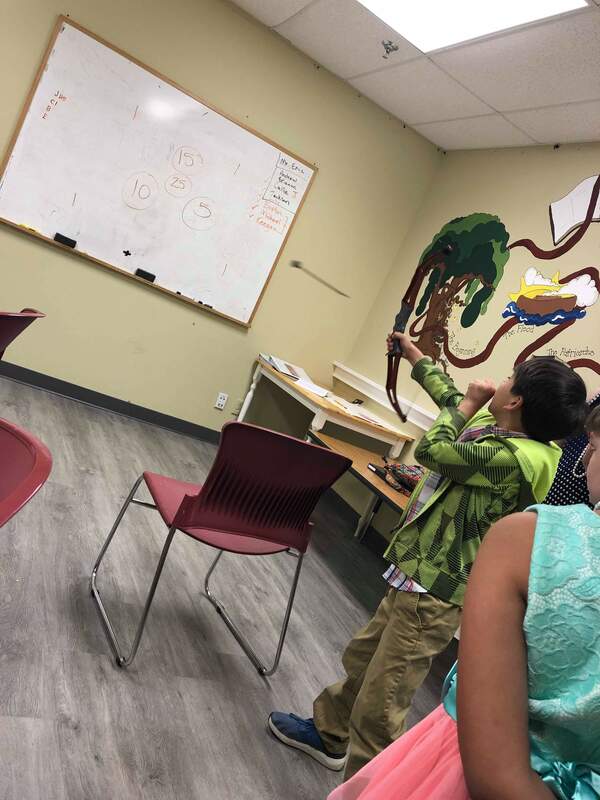
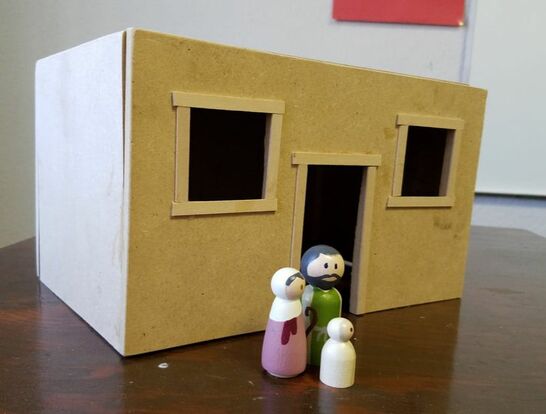
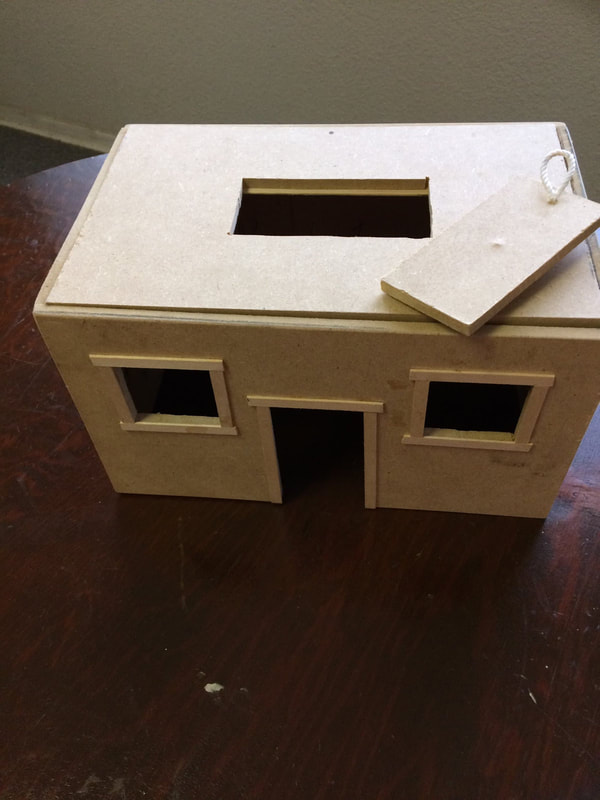
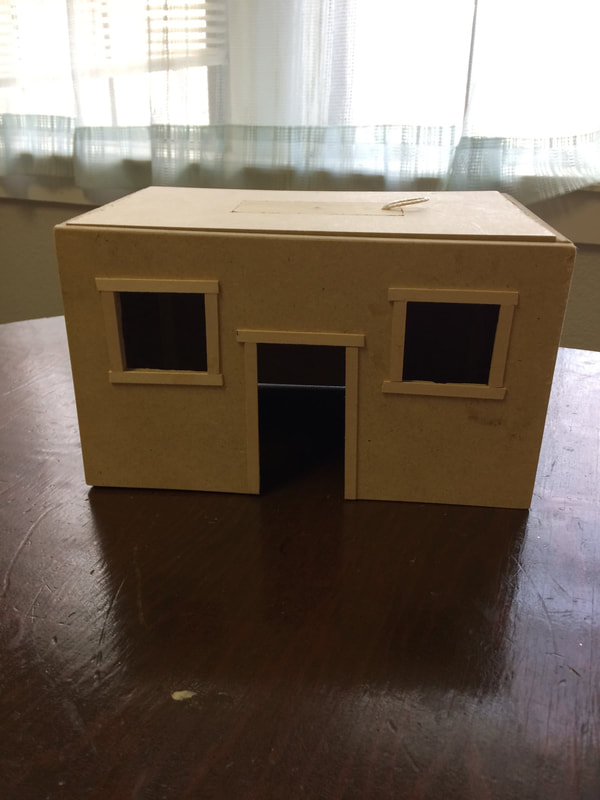
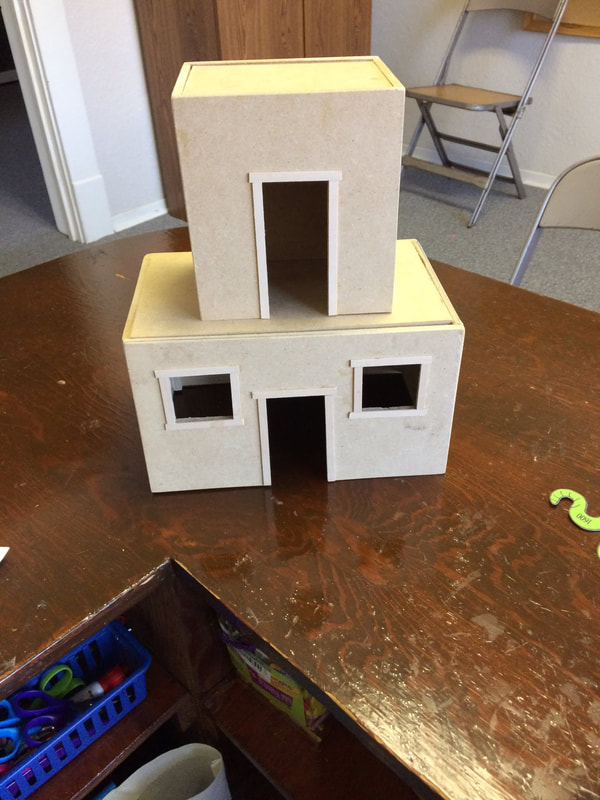
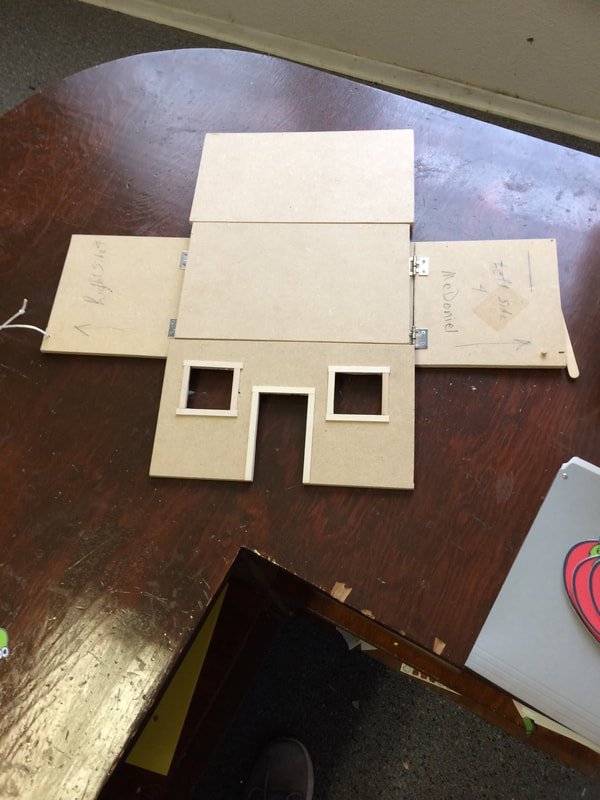
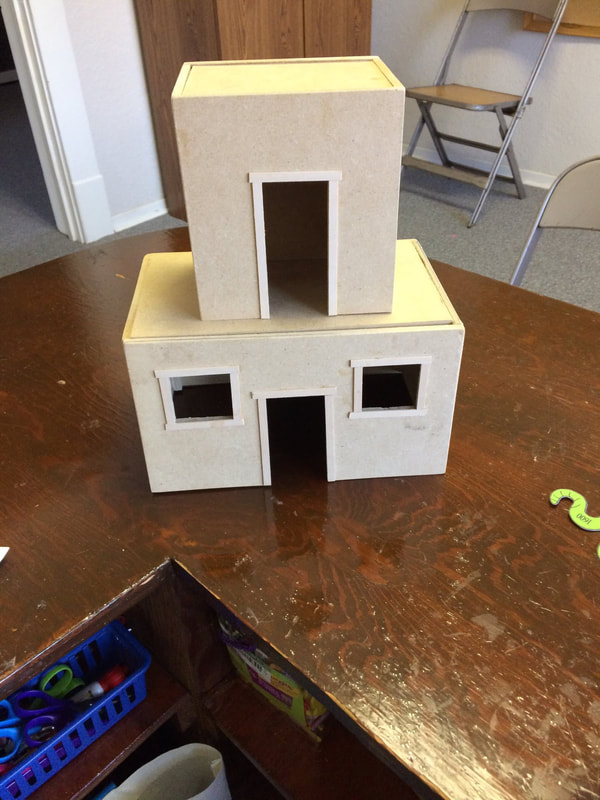
At the end of last summer, I found a bow and arrow set (the arrows have suction cups on the end) on clearance at our local Walgreens. I knew I'd be teaching the story of Jonathan warning David to flee from Saul again this spring, so I grabbed it. I don't actually use this to teach the lesson, though. Instead, I use it to review afterwards. I set up the classroom to where the kids can stand a certain distance from the marker board. On the marker board, I will have various points with a circle around them -- you choose how high or low you want to go. Each student will get a turn to step up to the line. If he or she can answer whatever question I give them correctly, he or she gets a turn to shoot the bow and arrow at the board to try and get the arrow to hit one of the points. Our lesson covers not only how Jonathan loved David so much that he gave him his tunic, sword, and ring, but also how he was almost killed by his father because he tried to talk him out of killing David, and how he shoots the arrows to warn David to flee. This gives quite a bit of story to choose from when coming up with questions. I also go farther back to lessons we've done in previous weeks if I need more. It's a win-win. The kids get to be up and moving around a bit, shoot a bow and arrow, and are still soaking up the lesson. Do you ever come up with fun ways to review that incorporate something from your Bible story into the game? I'd love to hear about it! Remember a few weeks ago when I posted how my uncle had crafted several Bible times houses for my mom and aunt to use when teaching their classes? Well, he's agreed to share the instructions with us. I'm attaching them at the bottom of this post, so keep reading. There are two different houses. The one pictured above is the teaching house. It can be used for a basic house for many stories, but it also has a trap door in the roof which allows it to be used for the story where the friends lowered the lame man through the roof. He has also built a small house to go on top so you can tell stories like the widow who built a room for Elisha to stay in when he came through or to tell the story of Jesus giving the last supper to his disciples in the Upper Room. The second house is called the foolish man's house. It can be used, obviously, for the wise man and foolish man parable. It could also be used to teach about the walls of Jericho. He's rigged it to where it falls down with the flip of a lever. So fun. Are you impressed? I know I was. I'm hoping to one day get him to make me a set, too. They're the perfect size for my peg dolls. Want to see if you can make (or have someone handy make) your own? Here's the instructions! I'd love to hear about it, if you do make a set.
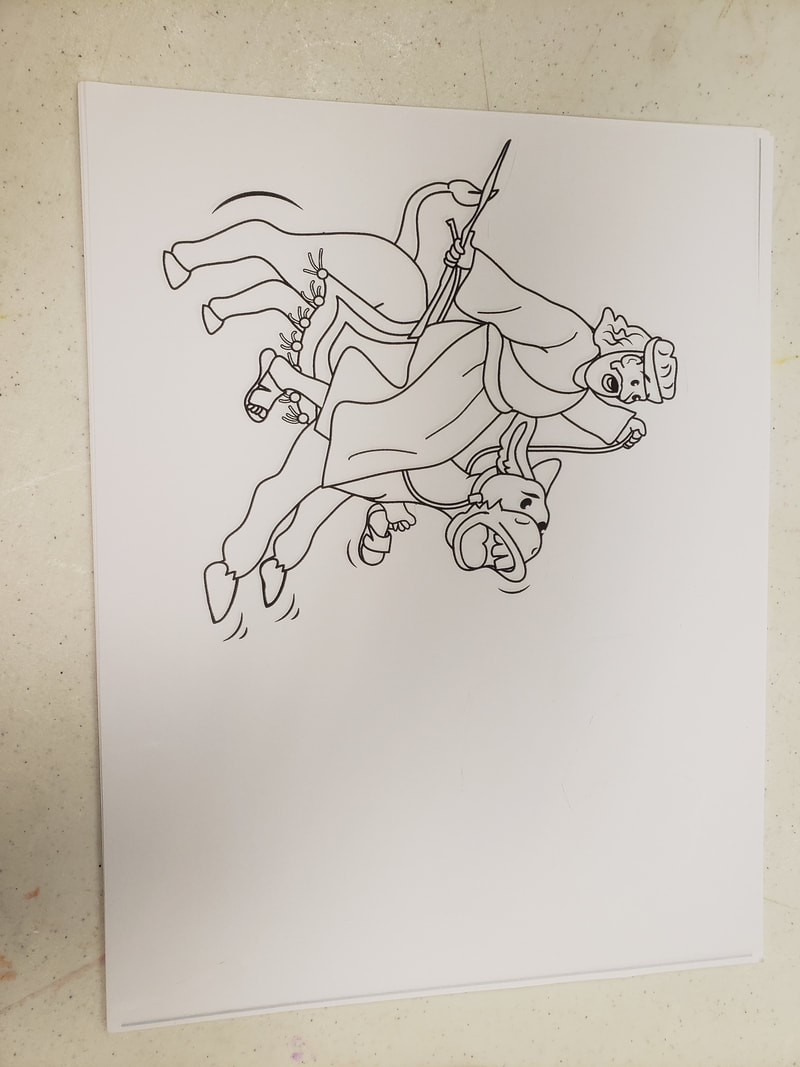
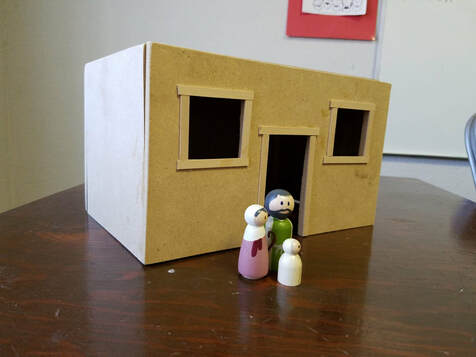
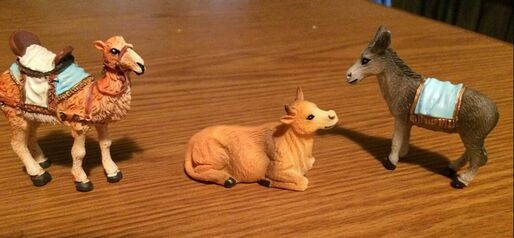
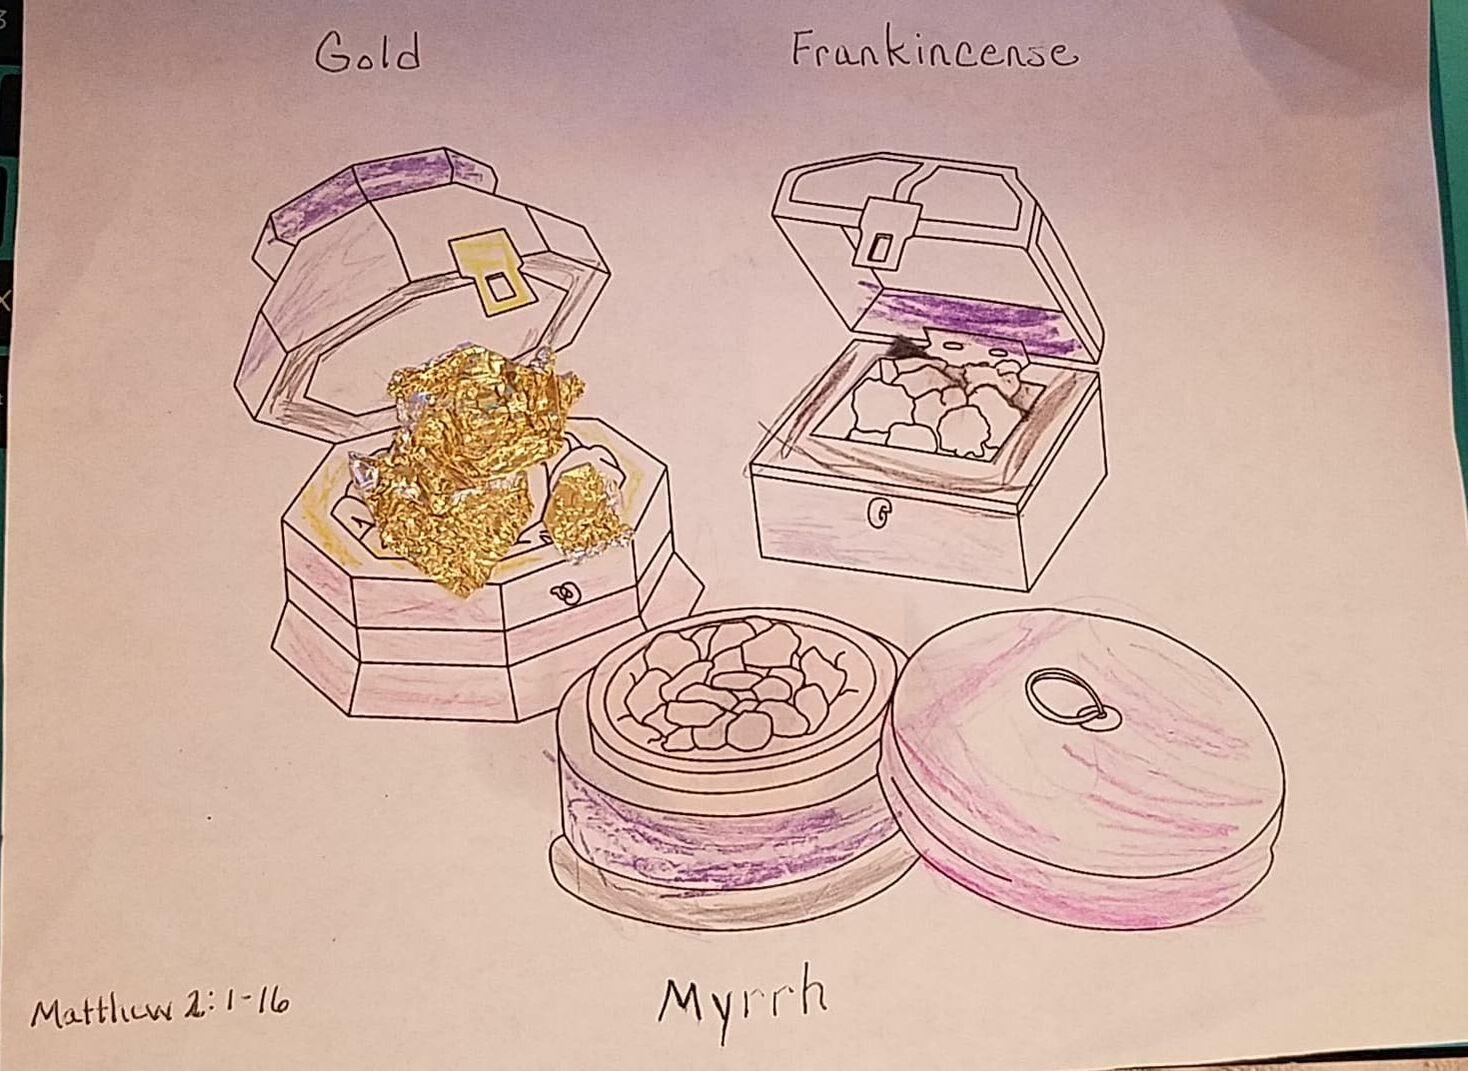
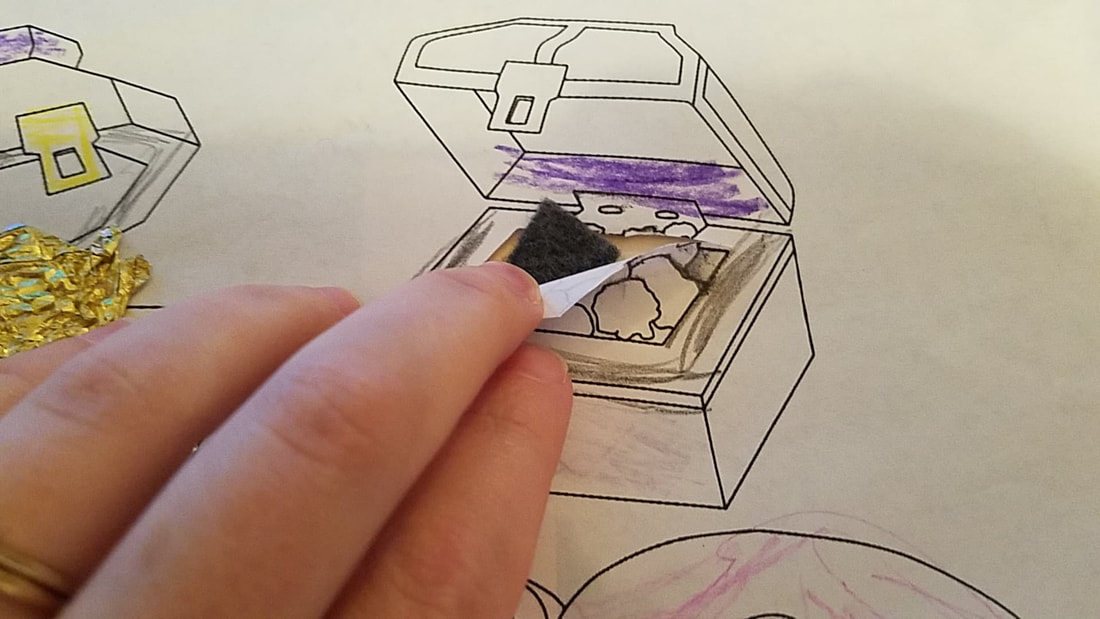
Instructions for Teaching House Instructions for Foolish Man's House While we were visiting my family for Christmas holidays, my daughter and niece were blessed to have my mom as their Bible class teacher that Sunday. She happened to be covering the lesson of the wise men visiting young Jesus, and when I saw the different things she was using for her lesson, I asked if I could share her ideas with you, in case you need some for the future. Something I've discovered, and she has, too, is that children love to be able to "act out" the story in some way. I made her a set of the Bible peg dolls I did for myself and my sister (and an aunt) last year, and she's put them to good use. If you don't know what I'm talking about, that post is here. The week before, she had used these three for Joseph, Mary and baby Jesus. The house behind them is one my uncle made for her. (If I can sweet talk him into it, I'll post those details later.) For the wise men, she used the king figure I had painted as well as two of the other men figures with a small piece of fabric over their heads to make it look a headdress. She found this neat set of animals in the Christmas products at Michaels and knew immediately that they'd work for her Bible class. Aren't they cute? I wish I'd had time to head to that store, too, but maybe next year ... It seems I always need a camel at least once a quarter. Just a great reminder that you never know where you might find a great prop for a Bible lesson. For her craft, she printed out a coloring sheet like the one below and just labeled the different containers to say the gifts that the wise men brought. She let the kids color them as they wanted. Then, they added the gifts. For the gold, she had found some chocolate candies with gold wrappers. They were super excited to get to eat the candy so they could glue the "gold" on their sheets. For the frankincense and myrrh, she had bottles of those two essential oils in her stash. She cut a slit in the paper and had another paper behind it so they wouldn't fall through. Then, she let the students put a drop or two of the oils on a small piece of felt and stick it in the little pocket she had made. That way, they could smell it and get an idea of what it might have been like. I love that idea. Especially with all the different companies that have now made essential oils more affordable. I keep frankincense in my stash, too. It's great for headaches and mood lifters and wrinkles! Think Mary used it for any of that? I'd love to hear from you. Have you ever used essential oils in a Bible lesson? Got any other neat ideas that are similar to this? Ever taken a coloring sheet and made it more?
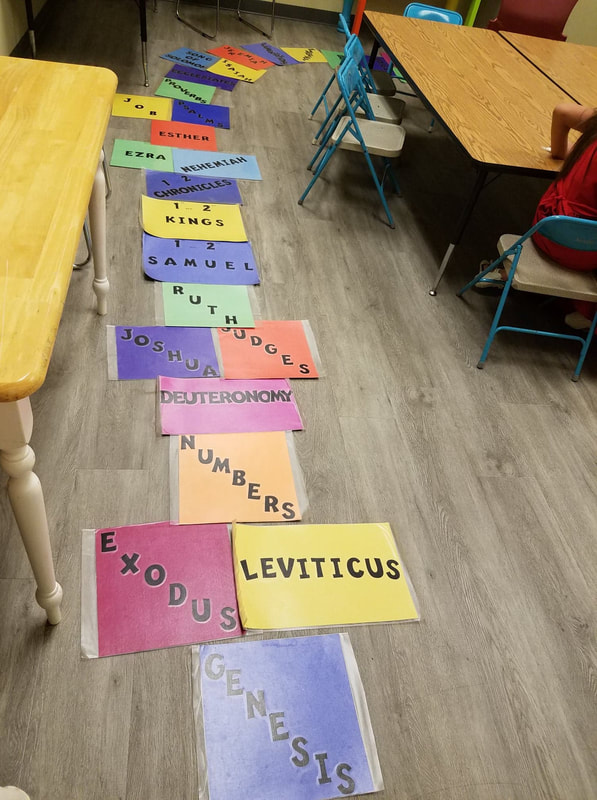
Did you ever do hopscotch as a child? I did, though usually on a sidewalk or driveway, drawn with chalk. This version is a bit different.
I love reviewing the books of the Bible with my students, because even though most people use their phones or ipads now to follow along during scripture readings (assuming it's not up on the power point screen), it's still good to know where things are in an actual Bible. I'm always looking for more ways to review with them that are different and makes them use other sense than just their sight or hearing. When I found this version of the hopscotch, I knew I wanted to try something similar. Our congregation has an amazing program called Teacher Toos. It's a group of ladies who meet on Tuesday mornings and work in the teacher workroom on anything that the teachers have left to be done. It could be running copies, cutting out shapes, or even punching holes as I had them do for a Ruth craft last year. They're wonderful and so appreciated. When I came to one of them with this idea, she seemed skeptical, but told me to write out the details and she'd see what they could do. I think they did an amazing job. Each book is a separate square or rectangle of card stock, sealed within a pocket of contact paper. Our laminator is old so it doesn't like to do big thick pieces of paper. Hence, the contact paper. They cut out all the letters and arranged them. This literally goes all the way around our classroom, but the girls especially love it. As we get further into the quarter, we can flip some of the pieces over and see if the kids can remember what is next before jumping on that space. Or we can mix them up and have them lay them out in order again. There are so many options. I have one girl who sings as she steps on each spot. I'd love to hear from you. What get-up-and-get-active things do you do in your Bible classroom to help kids learn the facts? |
I am one of those Bible class teachers who can't stand to just present the lesson and then hand out a worksheet. I want whatever I do in class to stick with the kids, reinforce the lesson, and really make them understand that this isn't just a story ... it's something that really happened. I want to include some of the ideas I've come up with here so that I can hopefully help some of you who want the same thing. I'd love to hear your ideas, too!
Archives
May 2024
Categories
All
|
 RSS Feed
