|
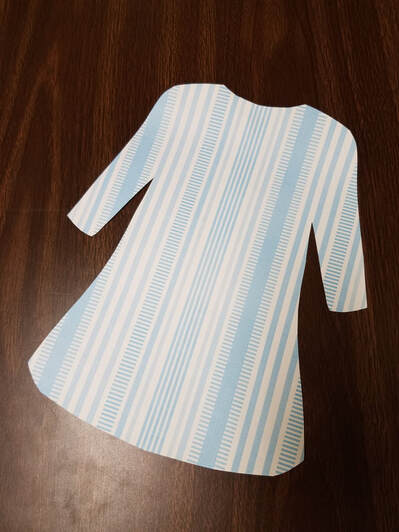
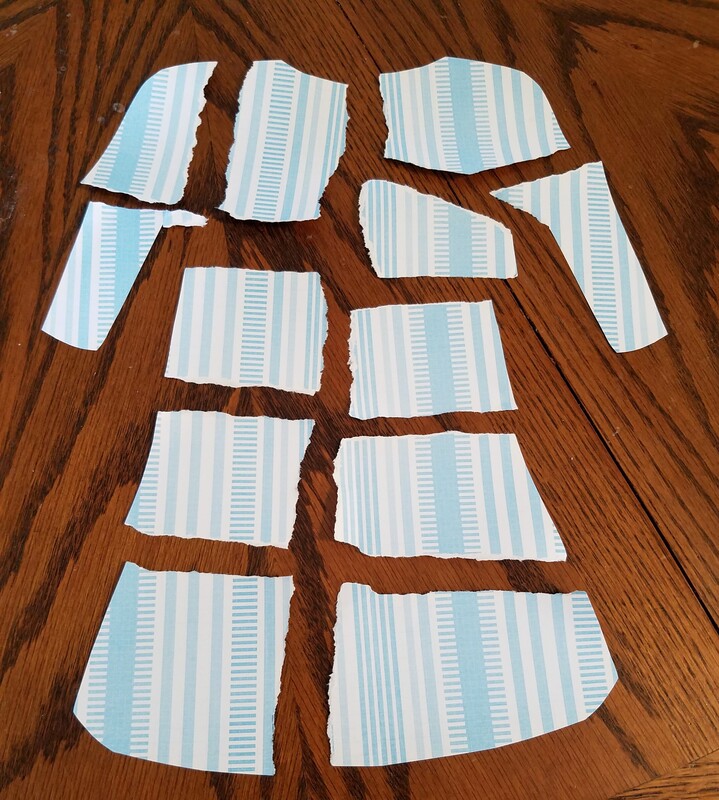
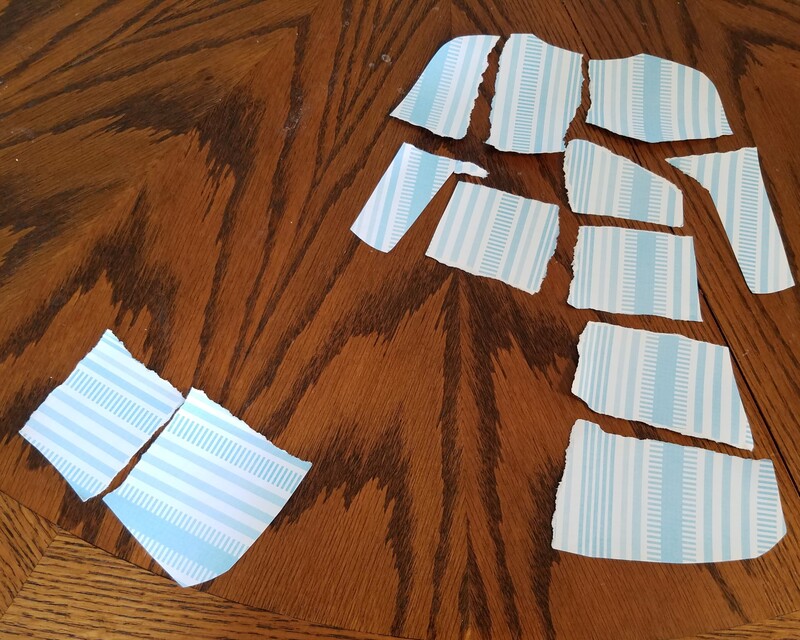
A few weeks ago, I taught the story of Jeroboam and Rehoboam in my Sunday school class. It's found in I Kings 11 and 12. Basically, because Solomon, despite his wisdom, let his various and sundry wives and girlfriends lead him away from worshiping only God, God decided that Rehoboam, Solomon's son, wouldn't get to be king over ALL the tribes of Israel. So, God gave 10 tribes to Jeroboam, one of Solomon's enemies, which became the nation of Israel. Judah and Benjamin stuck with Rehoboam and became the nation of Judah. We started class by labeling a map with approximately where all the different tribes lived in Canaan. Then, I got into the story. Here's my first visual aide. I basically took a piece of scrapbook paper, folded it in half, then cut out a garment shape. This is the new garment that I Kings 11:29 says the prophet Ahijah was wearing. When Ahijah met Jeroboam, he took off his garment and tore it into twelve pieces. While you're telling the story, tear your garment. Then, Ahijah told Jeroboam to take ten pieces for himself because God was going to give him ten tribes to be King over. After that, I talked about Rehoboam's bad decision to listen to his peers instead of the elders. When we get to the part where the Bible says ten tribes followed Jeroboam and only two stayed with Rehoboam, we draw a dashed "line" where the kingdom divided on the map we started class with.
For a take home paper, I let each child have this sheet, which is a garment listed with each of the twelve tribes. They can color it and cut it apart to be a puzzle so they can remember the lesson. I hope this has helped any of you needing to teach this hard lesson in your class. I'd love to hear if you have come up with any other ideas, too.
0 Comments
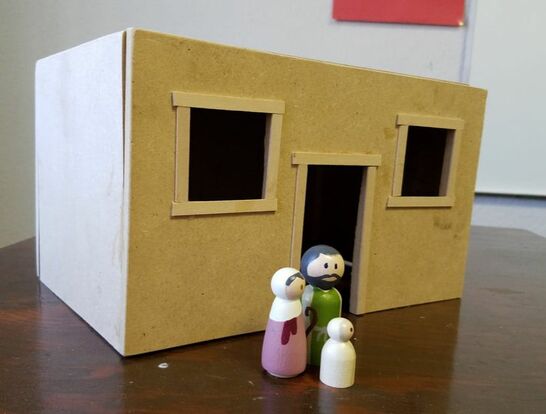
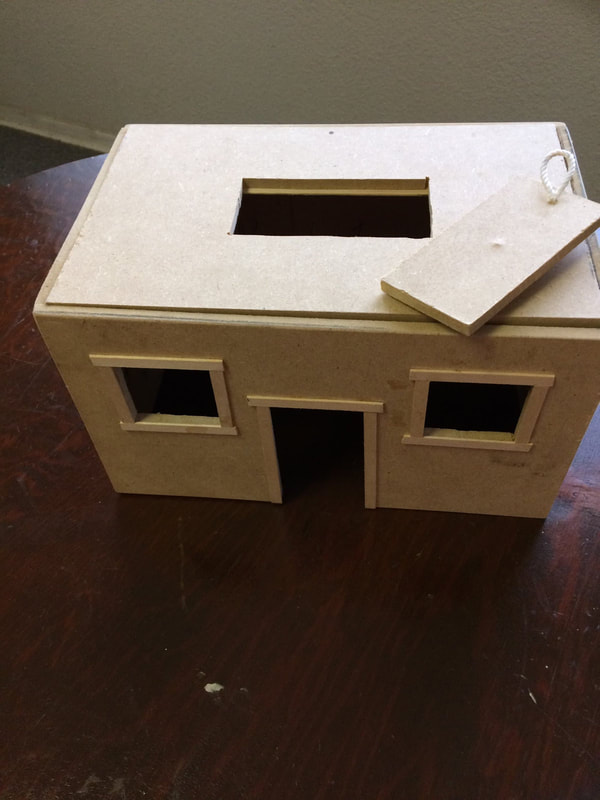
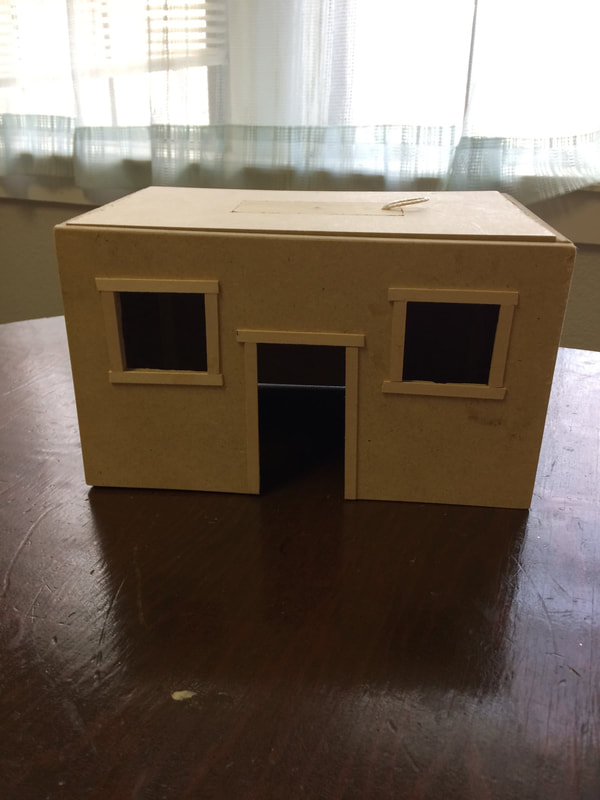
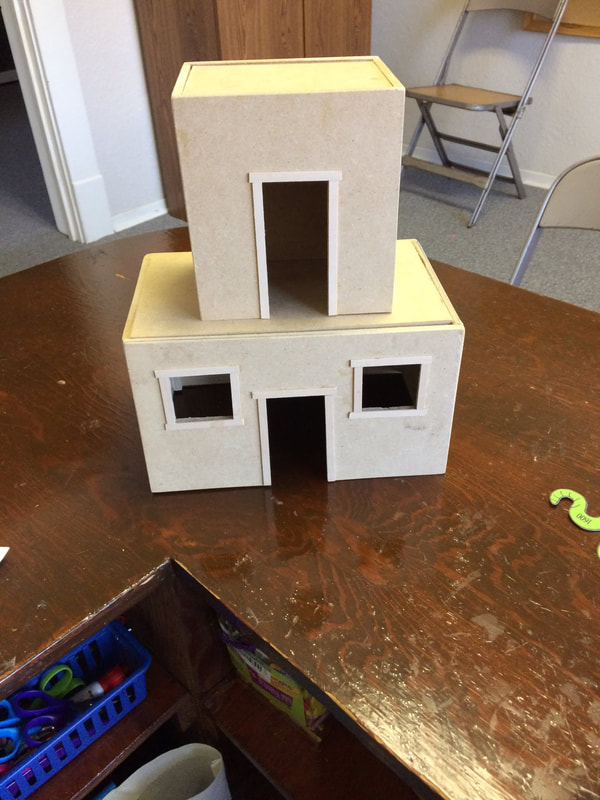
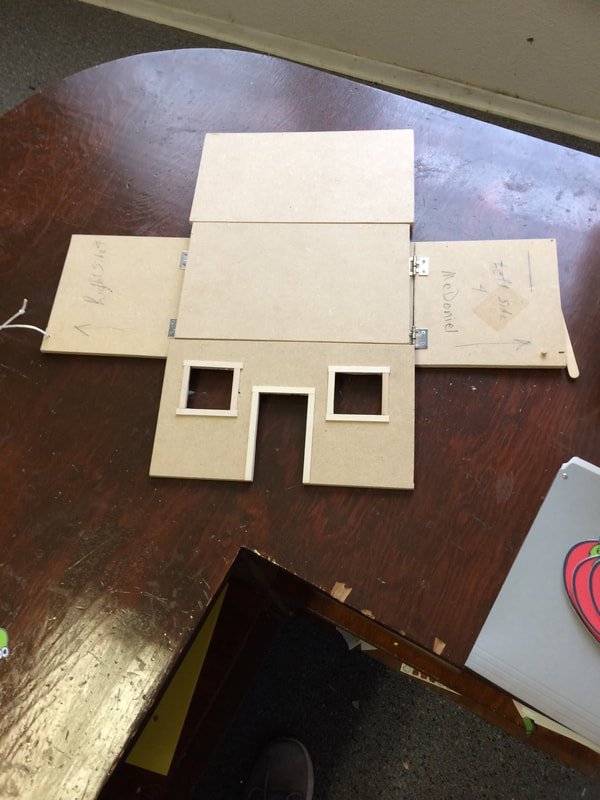
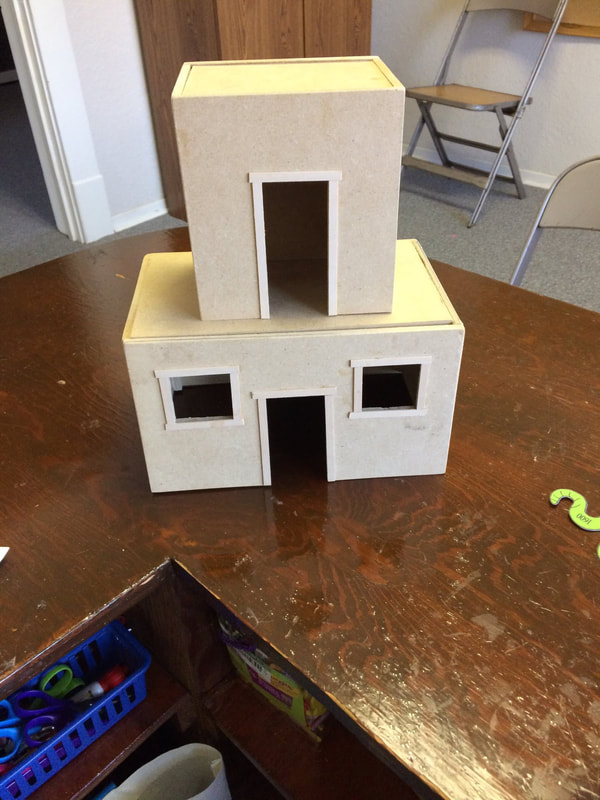
Remember a few weeks ago when I posted how my uncle had crafted several Bible times houses for my mom and aunt to use when teaching their classes? Well, he's agreed to share the instructions with us. I'm attaching them at the bottom of this post, so keep reading. There are two different houses. The one pictured above is the teaching house. It can be used for a basic house for many stories, but it also has a trap door in the roof which allows it to be used for the story where the friends lowered the lame man through the roof. He has also built a small house to go on top so you can tell stories like the widow who built a room for Elisha to stay in when he came through or to tell the story of Jesus giving the last supper to his disciples in the Upper Room. The second house is called the foolish man's house. It can be used, obviously, for the wise man and foolish man parable. It could also be used to teach about the walls of Jericho. He's rigged it to where it falls down with the flip of a lever. So fun. Are you impressed? I know I was. I'm hoping to one day get him to make me a set, too. They're the perfect size for my peg dolls. Want to see if you can make (or have someone handy make) your own? Here's the instructions! I'd love to hear about it, if you do make a set.
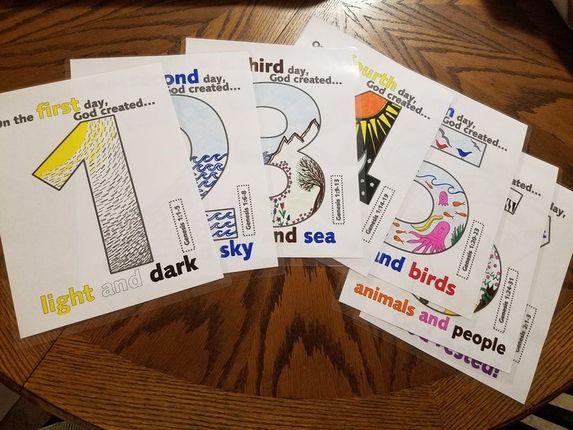
Instructions for Teaching House Instructions for Foolish Man's House Creation is a fun lesson, and can be taught many ways. I usually incorporate the song, "Day one, day one ..." It's catchy and helps us all remember what happened on which day. I also use my visual aids pictured above. I snagged them here, if you want a copy of your own. There are several others on Pinterest, as well, if you don't love these.
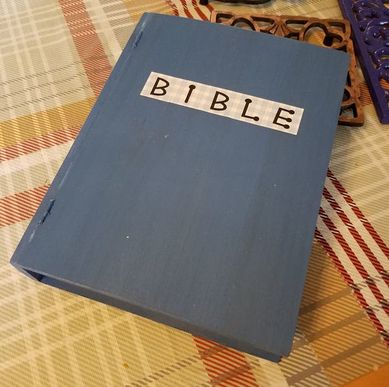
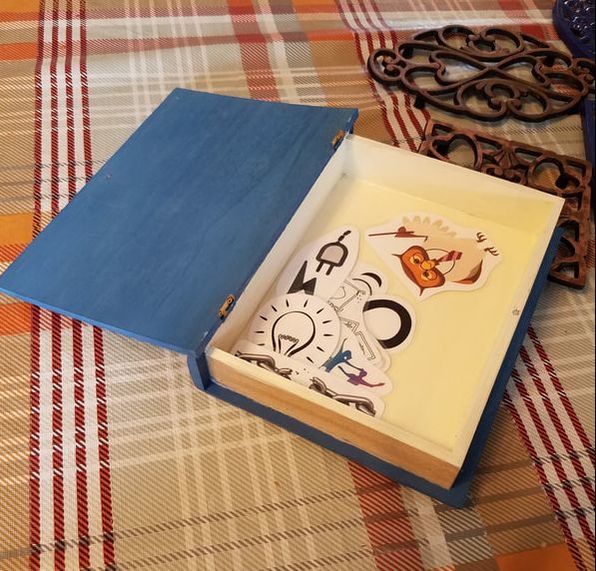
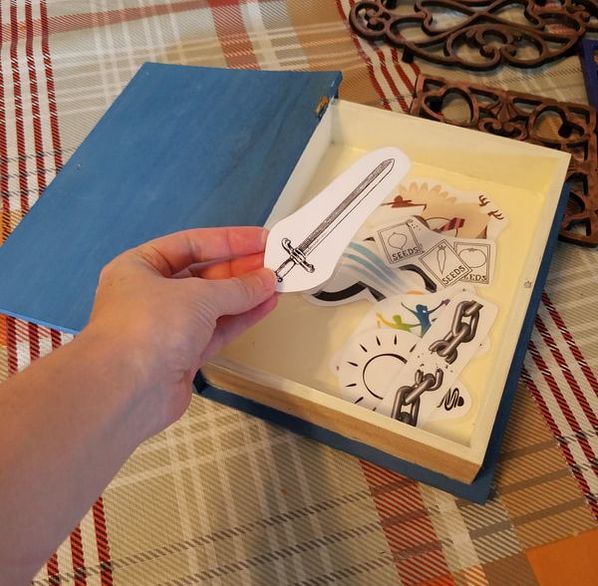
Then, to keep the students' attention, and get them involved, I hand out this sheet. It's a handout that has miniature versions of the numbers, but blank. This lets the kids color in what happened on each day, a task that also helps drive home the lesson. I love when I can get the kids drawing the story along with me. And they seem to like it, too. I'd love to hear from you. What all do you do when you teach this amazing lesson? A couple different curriculums I have used in the past few years have started by introducing the children to the Bible. By that, I mean having one (or two in the one I'm using now's case) lesson on how we got it, what it consists of, etc. For older kids, that probably wouldn't be an issue, but I teach lower elementary, mainly second grade. Those kids need something to keep their attention. I had seen another site where they had done up a wooden book like you see above (I got mine at Michaels using my 40% off coupon) to look like a Bible. When you open it up, you can have anything you want inside. For this lesson, I did a search through a concordance for other words associated with "Word of God" or "Word of the Lord" or even "Scripture." I then came up with the different images to go with each scripture. I cut mine out and laminated them. Then, we talked about each one and what it meant as I pulled them out. Each of the students had a sheet to follow along and we looked up most of the scriptures together. This helped them realize that the Bible isn't just a book of stories. It is important because it's alive and powerful and the only thing that can help us be free and get to Heaven. If you would like copies of these, click here to download and use in your own classroom. Another week, we talked about information like how long it took for the Bible to be written, how many people helped write it down, and what all it consisted of. I have a little worksheet here, if you're interested in a copy of that, too. The answers are included on the back pages. I like to copy mine front and back and then let the students fold them in half so they look a little like a Bible. Sometimes, it's just helpful to have something to write it down on.
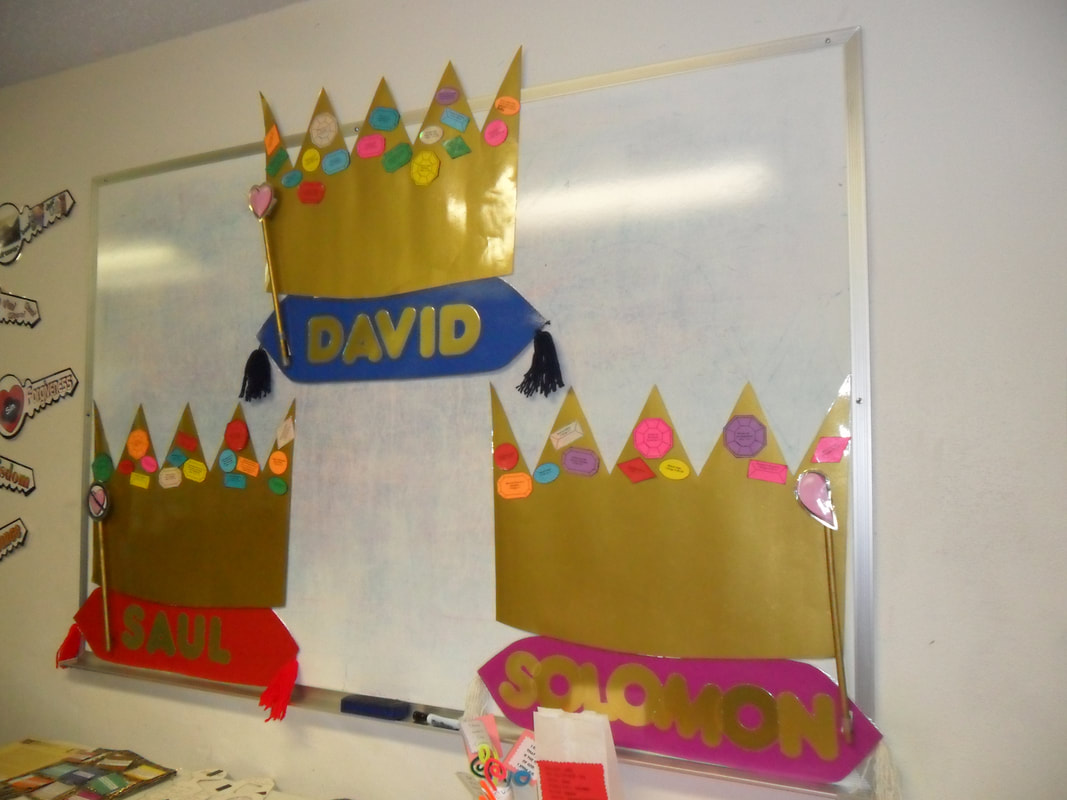
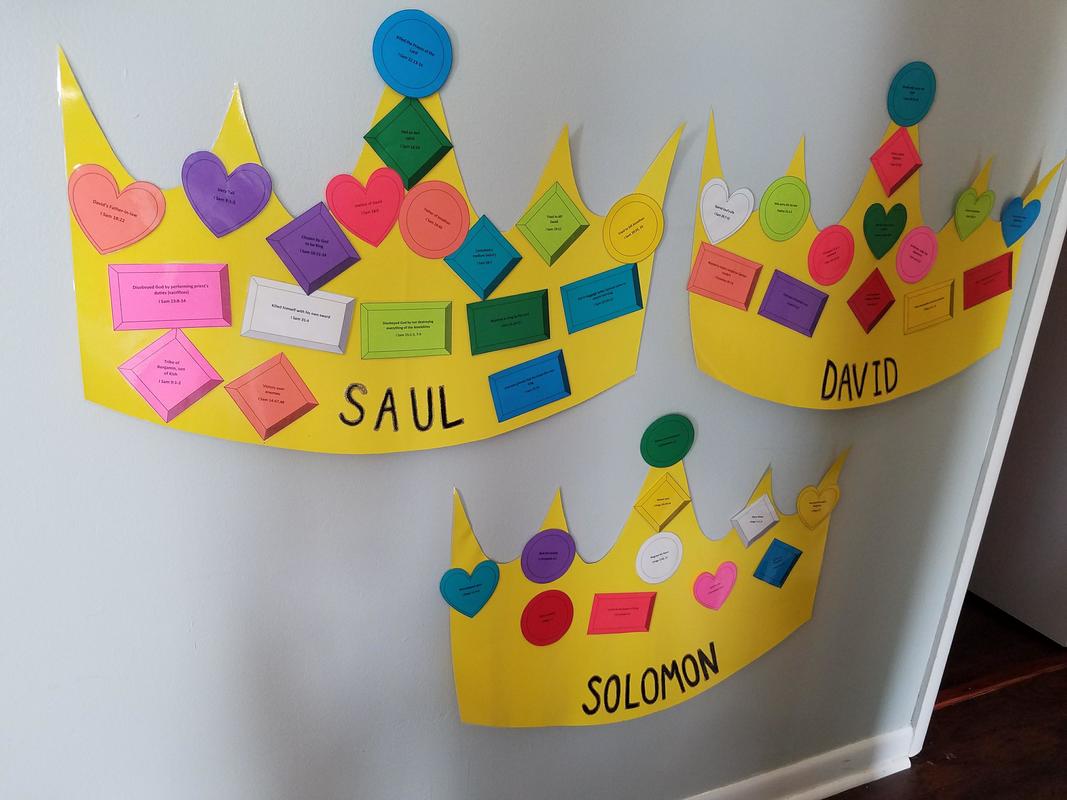
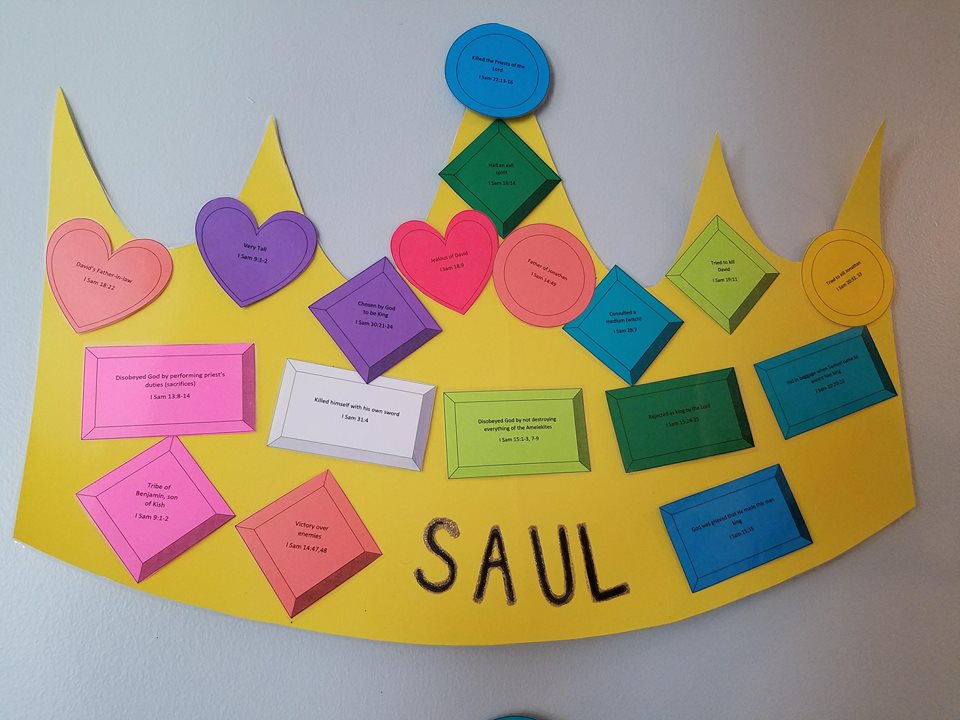
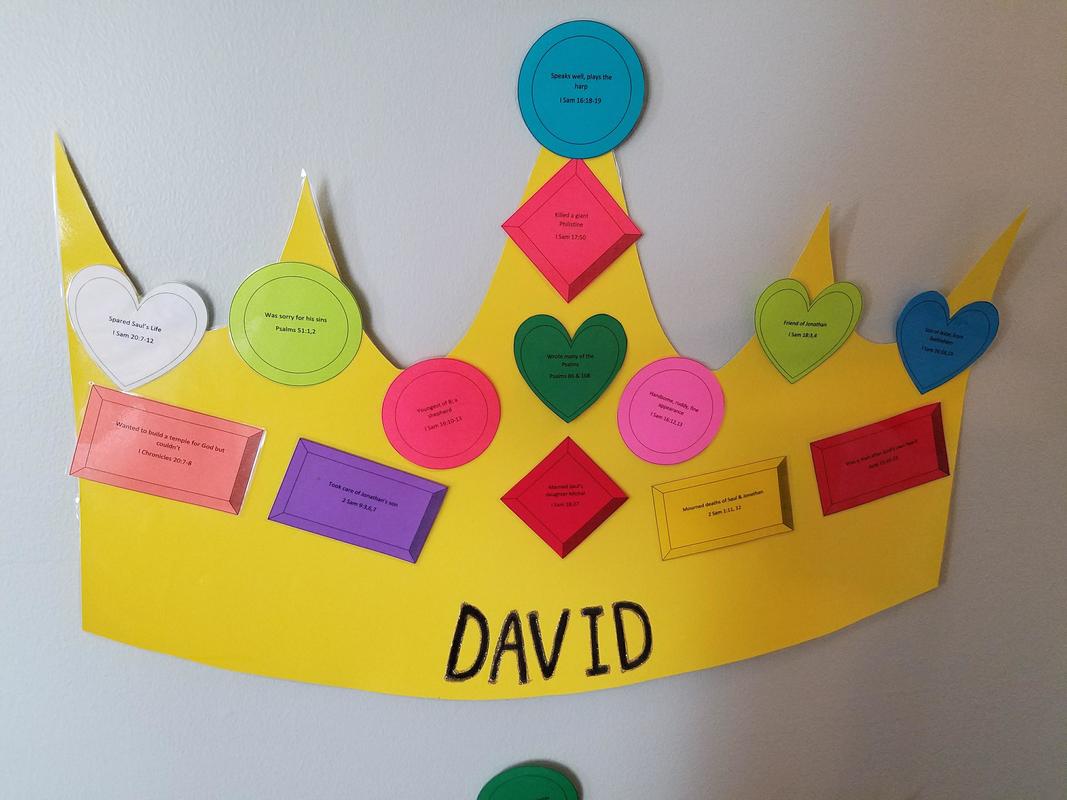
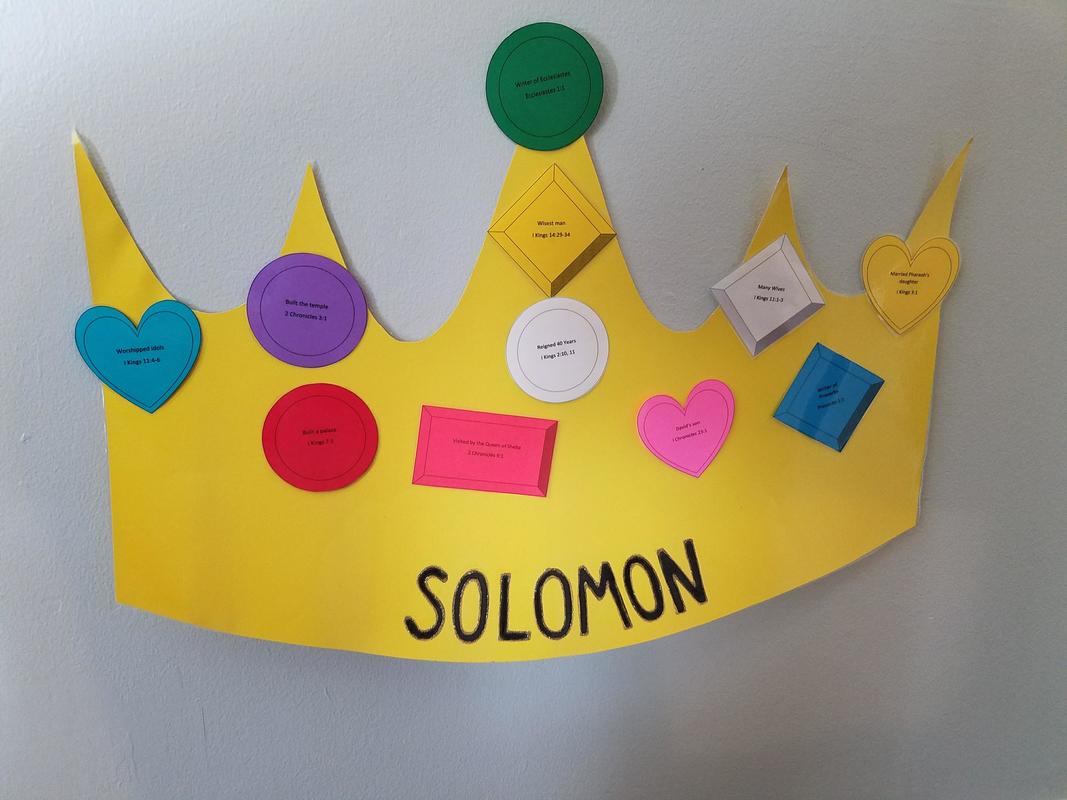
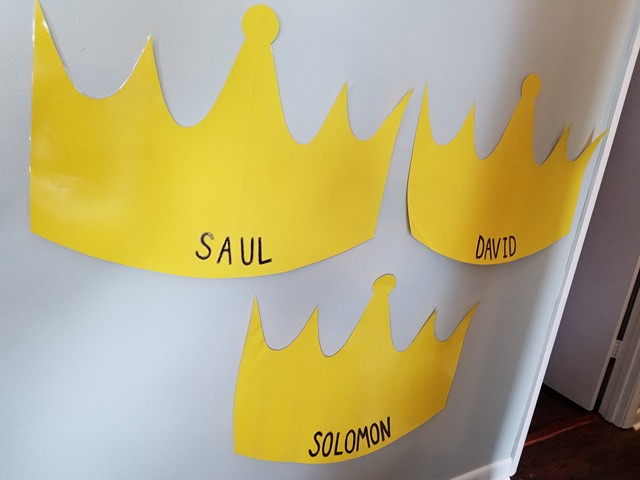
To start that lesson, I have each student a piece of poster board and told them to cut it into a puzzle piece. When we all got together, I asked if they could make one puzzle out of all their pieces. No matter how hard they tried to wiggle and turn them, they wouldn't all fit right because they had been made by different people who had different ideas of what a puzzle piece should look like. I then asked if they knew how many people had written the Bible. After letting them guess, I finally said around 40. Then, I said, "If 40 different people worked on this, does it fit together like the puzzle we made or does it fit together perfectly?" That led to a great discussion on how, even though the Bible is made up of various stories and books, it is really one story that goes from Genesis to Revelation, and it's perfect and complete because God is the one who gave all the authors the words. It was a really great illustration my curriculum had suggested, and I just had to share in hopes that this will help some of you as you teach, too. We've started going through the first kings of Israel in my Bible class. As I was preparing my lessons several weeks ago, I remembered seeing an idea from a teachers' workshop I attended years ago. I even found a picture of the idea, although I have no notes to be found as to who came up with the original or when. But see what a neat review game this is? I decided I wanted to make my own version, so I started creating my own jewels, cut out crowns from yellow posterboard, and simplified a bit. Not too bad, considering I couldn't read all of her original facts on her crowns from the sad quality of the pictures I took with my little digital camera all those years ago. I think they turned out okay, don't you? The main point is that I can have them in my Bible class and let the students decide which crown each jewel belongs on. Here's the good news. I'm sharing this hard work with you. That's right. I am going to include the word document I used to make my jewels here so you can just print them on whatever colors you want and cut out your own crowns to make this game for your own classroom use. Yay! I also included a page of blank jewels in case you wanted to include any facts I didn't have on here. If you aren't sure which king each jewel belongs to, you can just look up the scripture listed under the fact. ;-) Click here to download the jewels. And here's a picture of what my crowns look like without the jewels on them. I just used sticky tack to put it all together. I hope this helps you in some way. I'd love to hear your stories of how you use this!
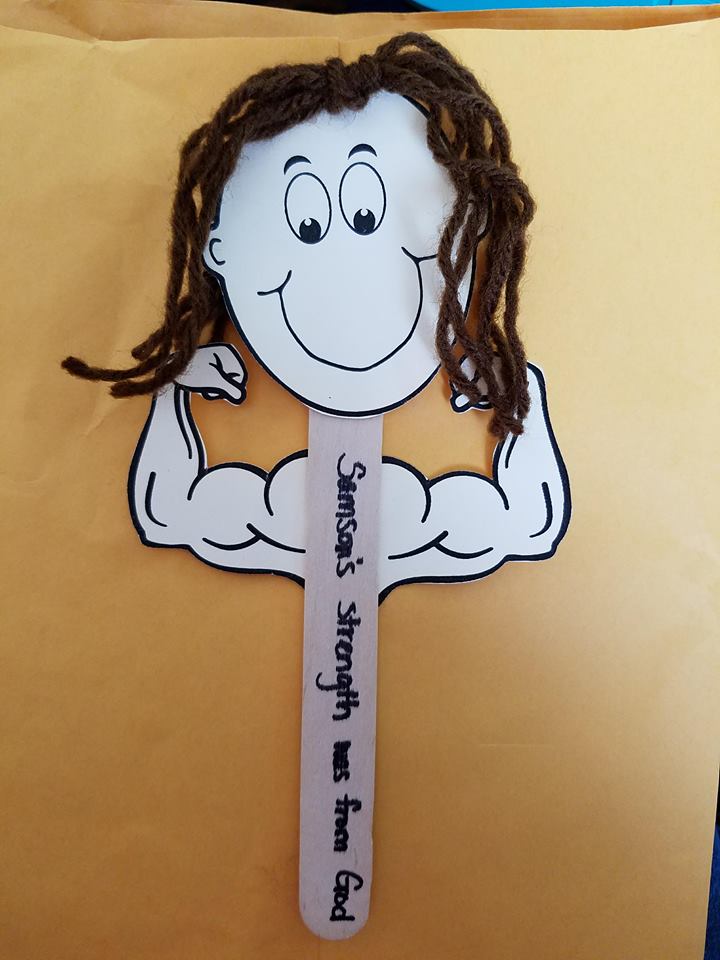
I absolutely love the ideas I find on handsonbibleteacher.com. She always has fun games and songs and crafts. When I was looking for an extra craft for my second graders to do a few weeks ago when we were talking about Samson, I discovered her cute little puppet. Unfortunately, try as I might, I couldn't find a template to make it exactly the same anywhere. So, I got a little creative, and made my own template. I thought there might be others out there looking for the same resource, so I'm sharing it here for anyone who wants to use it. It's fairly plain, but the kids really enjoyed it and they turned out cute. I made it where you can get two puppets from one sheet of cardstock. We just attached the head and arms to craft sticks, gave him some hair, and wrote "Samson got his strength from God." Hope this helps someone else teaching the story of Samson!
|
I am one of those Bible class teachers who can't stand to just present the lesson and then hand out a worksheet. I want whatever I do in class to stick with the kids, reinforce the lesson, and really make them understand that this isn't just a story ... it's something that really happened. I want to include some of the ideas I've come up with here so that I can hopefully help some of you who want the same thing. I'd love to hear your ideas, too!
Archives
May 2024
Categories
All
|
||||||
 RSS Feed
